

Scenario:
After exporting a DocuWare Request via KBA-36292, the DocuWare Request needs to be imported into another file cabinet.
Solution:
This can be accomplished if the following criteria are met: the File Cabinet structure MUST be the same (KBA-36595) for the restore to work properly.
(Note: By product design, DWRequest must be on the same version of DocuWare where the import is being attempted)
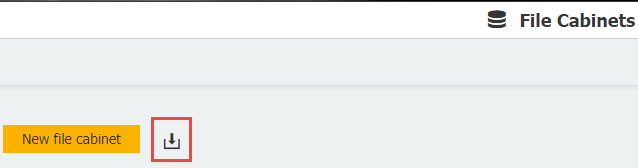
1. Refer to KBA-36594, which provides instructions on how to export your File Cabinet Settings XML.
Once exported, import the XML using the Import icon within the File Cabinets plugin
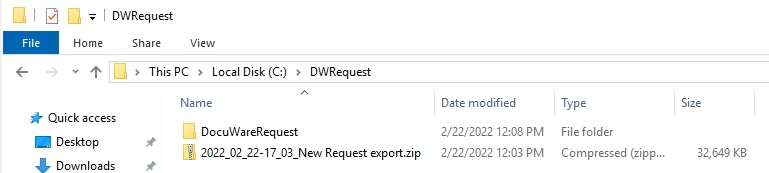
2. Place the zipped request in the DW Request storage location.
Please make sure that the path has sufficient Windows permissions. We generally recommend creating the share in the form \\servername\c$\.
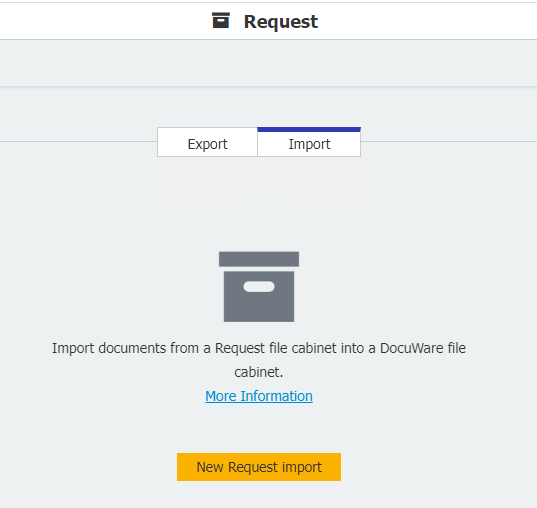
3. Navigate to the Request plugin located on the Configurations page. Select the Import tab, then create a "New Request Import."
4. Select the Storage Location to Import from, choose the Request file cabinet to import, and then select the file cabinet to be imported into.
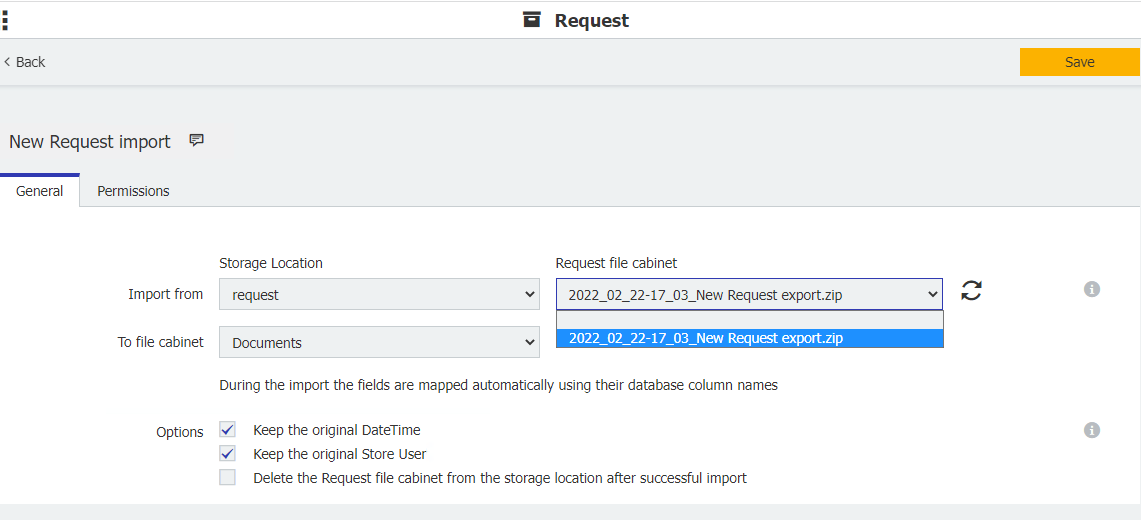
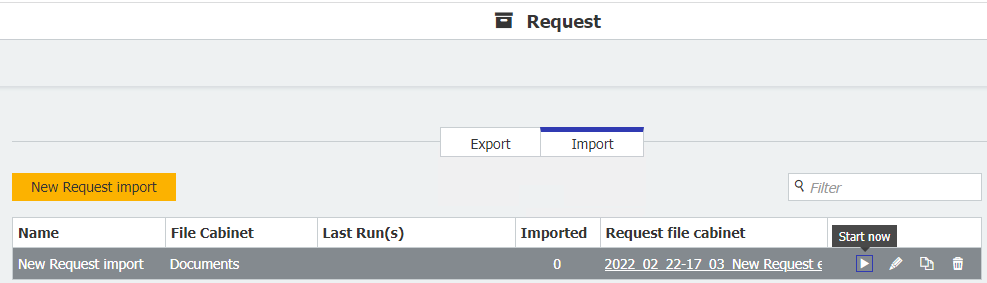
5. Save the configuration and return to the Request home screen. To run the Request Import, click-on the "Start now" icon towards the right side of the created Request.
Once exported, import the XML using the Import icon within the File Cabinets plugin
2. Place the zipped request in the DW Request storage location.
Please make sure that the path has sufficient Windows permissions. We generally recommend creating the share in the form \\servername\c$\.
3. Navigate to the Request plugin located on the Configurations page. Select the Import tab, then create a "New Request Import."
4. Select the Storage Location to Import from, choose the Request file cabinet to import, and then select the file cabinet to be imported into.
5. Save the configuration and return to the Request home screen. To run the Request Import, click-on the "Start now" icon towards the right side of the created Request.
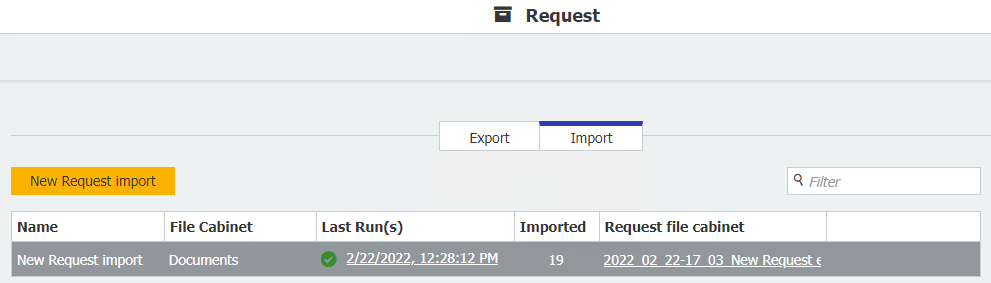
6. Once completed, you will have the data imported into the File Cabinet successfully.
KBA is applicable for On-premise Organizations ONLY.