

Question:
How do I install an SSL certificate on IIS?
Solution:
Please refer to the following guide to install an SSL certificate;
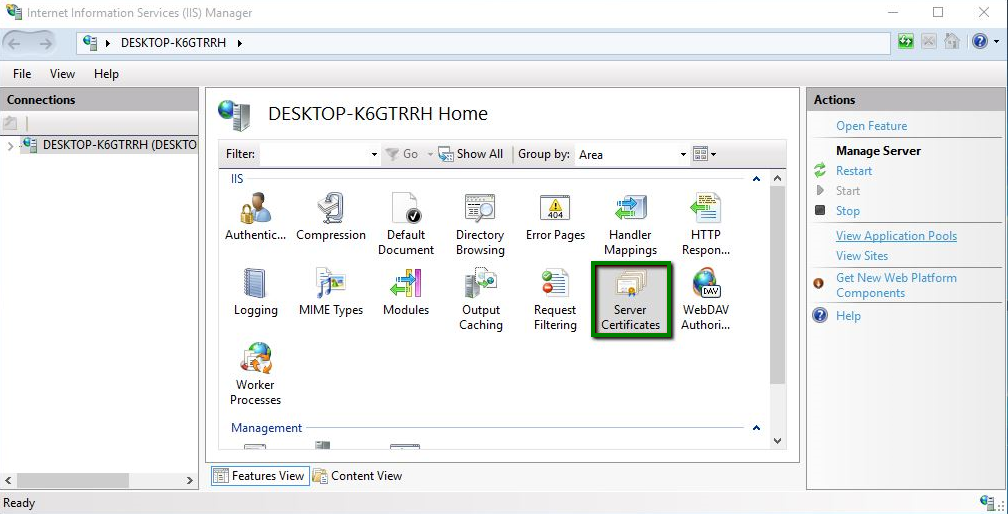
1. Press Win + R and type “inetmgr” in the appeared window to run the Internet Information Services (IIS) Manager.
2. On the IIS Manager home page, locate the Server Certificates icon and double-click it:
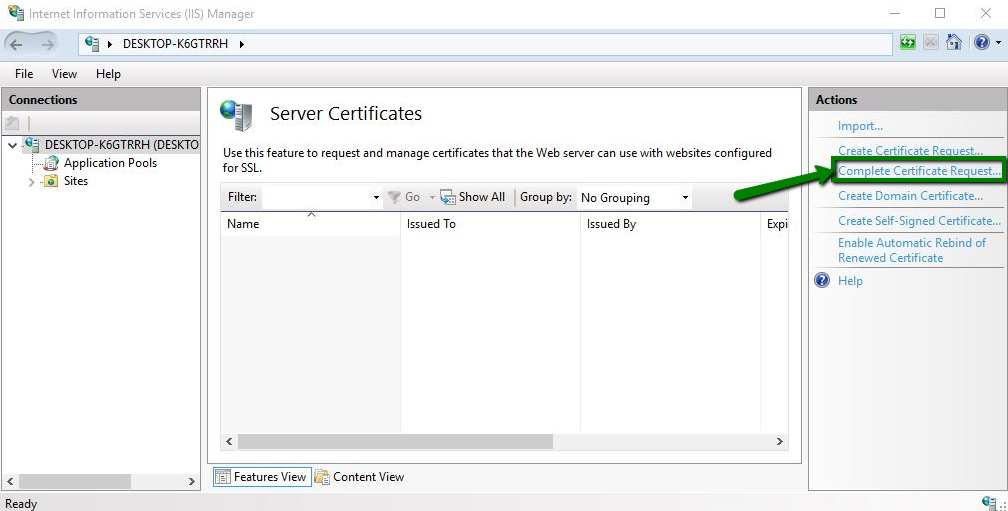
3. Locate the Actions panel on the right side and click Complete Certificate Request:
4. In the Specify Certificate Authority Response window, perform the actions below.
- In the File name containing the certification authority’s response field, browse the file system to select your .p7b (or .cer) certificate.
- In the Friendly name field, specify any name that will help you to identify the certificate among other files. It is best to submit the actual domain name of the certificate.
- In the Select a certificate store for the new certificate field, leave the default value Personal.
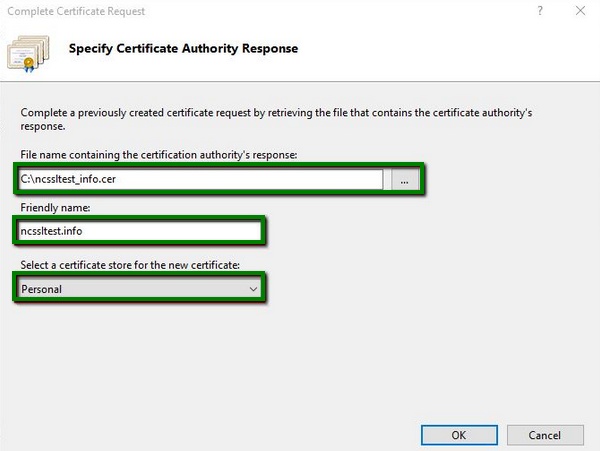
5. Click OK to import the certificate to the server storage.
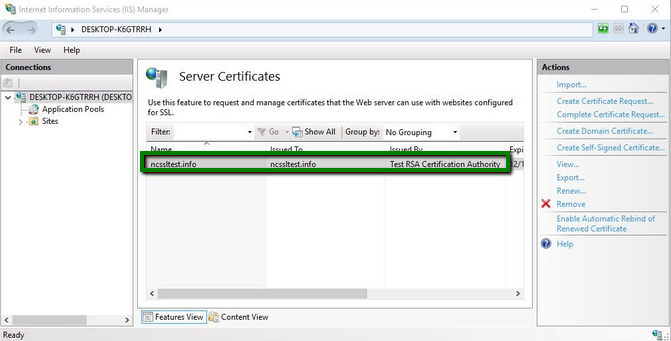
6. Once the import is completed, in the Server Certificates window, you will see a new entry associated with the imported certificate:
Bind the Certificate
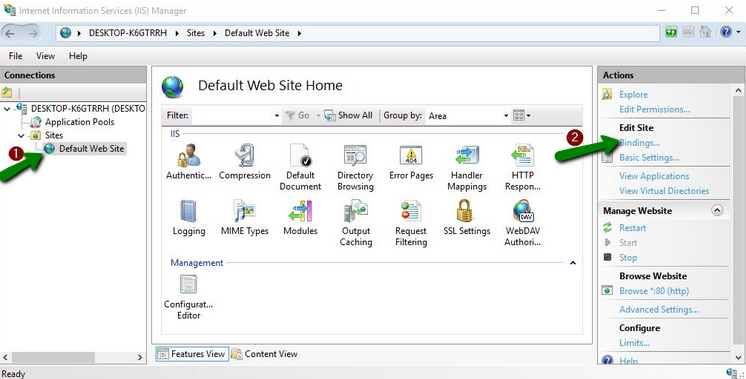
1. Assign the certificate to your website by expanding the Sites subsection in the Connections menu on the left and select the corresponding site. Then, in the Actions panel on the right side, locate the Edit Site menu and select the Bindings option:
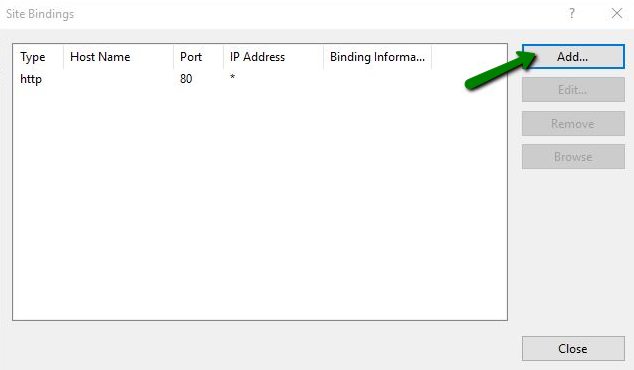
2. On the right side of the Site Bindings window, click Add:
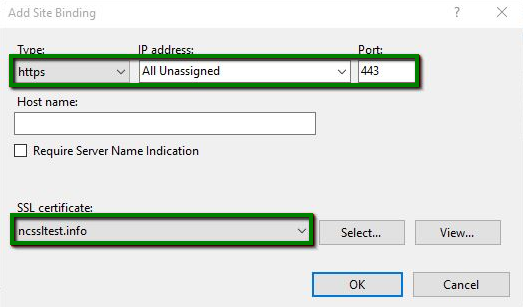
3. In the Add Site Binding window, modify the fields as below
In the Type field, select https.
In the IP address field, select your website’s IP address or All Unassigned.
In the Port field, specify 443 (default).
In the SSL certificate field, select the previously imported certificate, which can be identified by the friendly name:
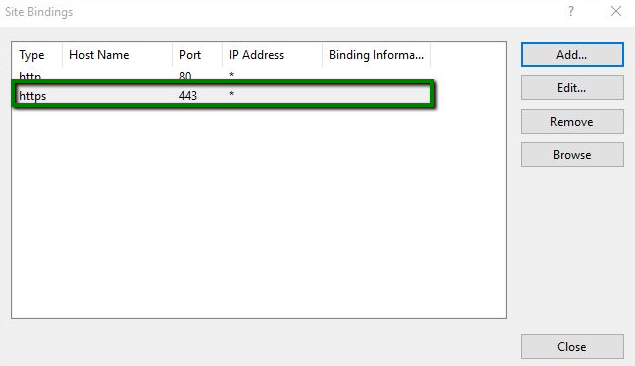
4. Click OK in order for the new https entry to appear in the Site Bindings window:
Warning: It is mandatory to add the new protocol HTTPS to web connections in the DocuWare Administration
KBA is applicable to On-premise Organizations ONLY