Question:
How do I modify the "Edit index entries" option?
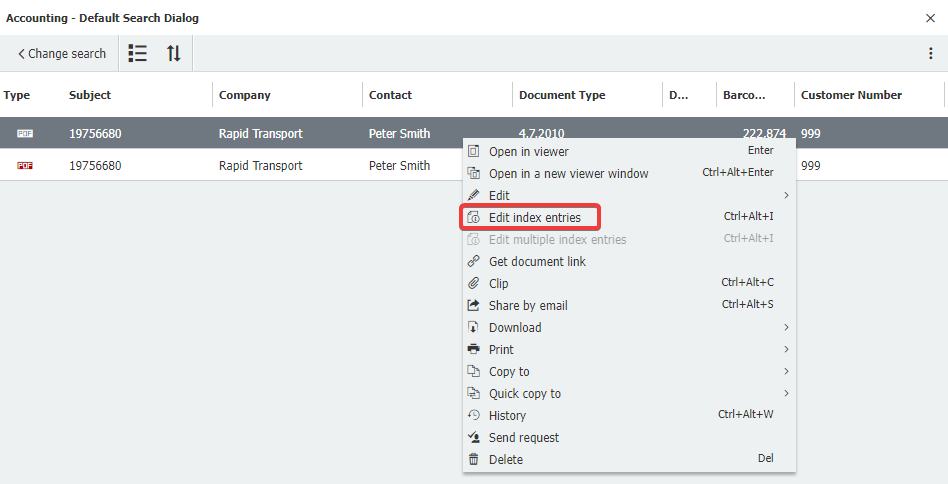
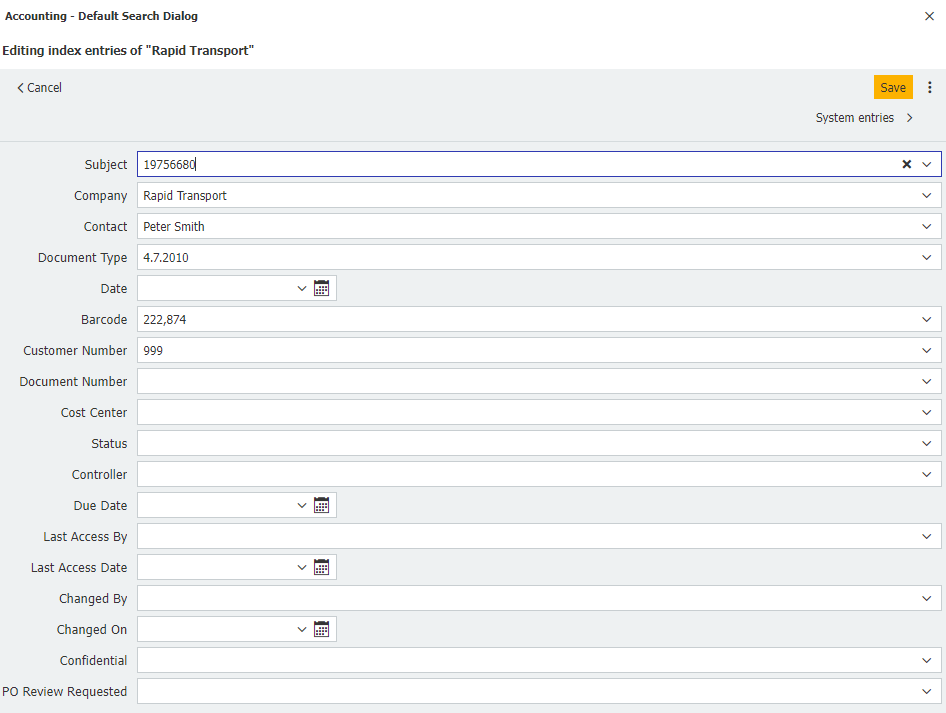
How do I modify the "Edit index entries" option?


Answer:
The "Edit index entries" option can be modified from the Result List. Please refer to the following guide on how to modify the "Edit index entries" dialog:
The "Edit index entries" option can be modified from the Result List. Please refer to the following guide on how to modify the "Edit index entries" dialog:
- Check to see what Search Dialog the user is using. If you click on the Search tab, each Search Dialog will be listed along with the file cabinet that the search will be performed.
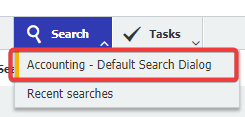
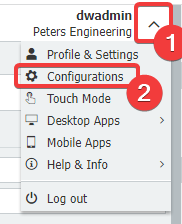
- To identify what Result List is being used by the Search Dialog, navigate to the Configurations page from the dropdown under your user name and access the File Cabinets plugin.
Please be aware you may need administrative rights to access the File Cabinets plugin.
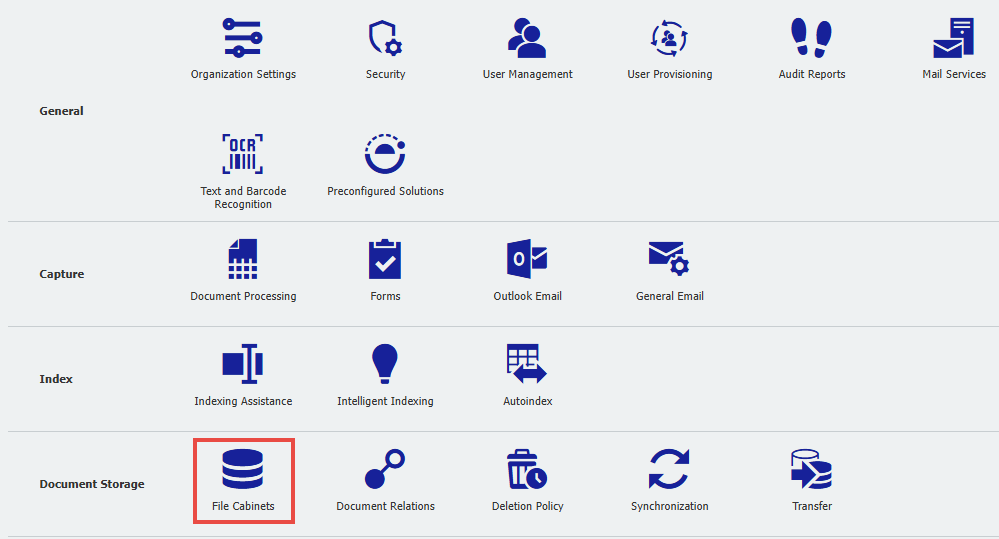
- Double-click on the file cabinet the user is attempting to search in.

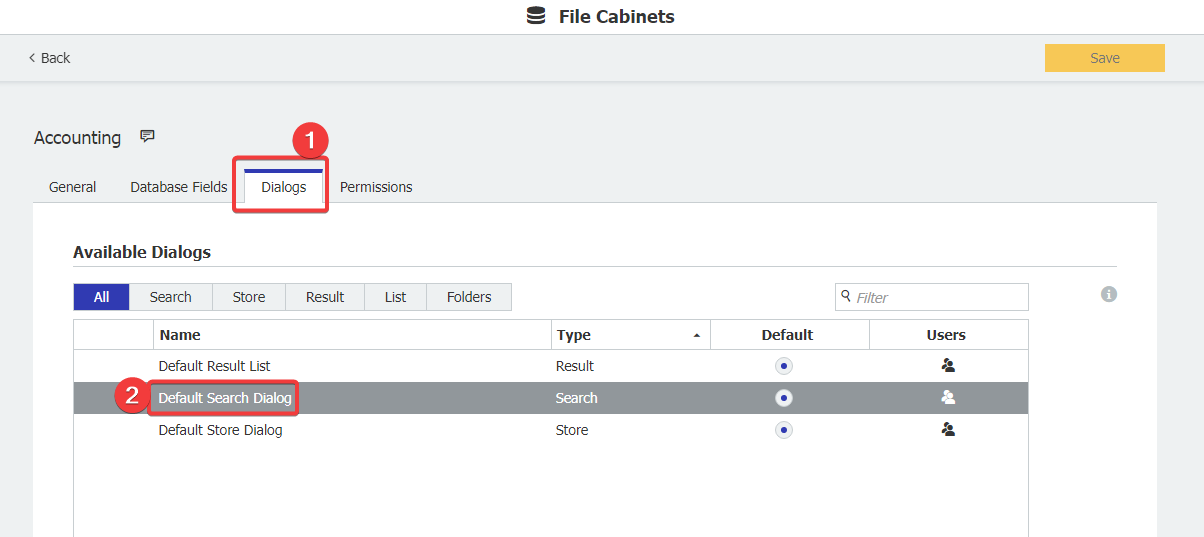
- Navigate to the "Dialogs" tab and locate the Search Dialog used by the affected user. Once located, click on the Search Dialog.
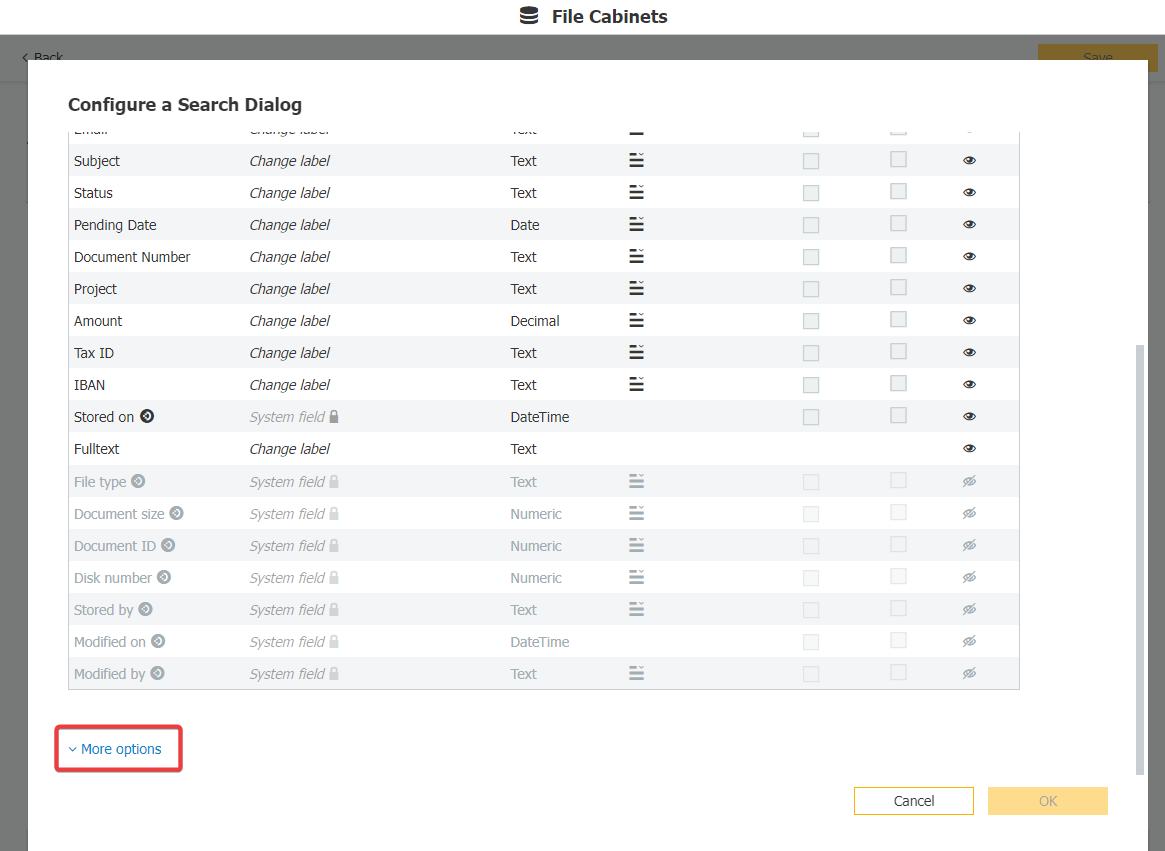
- Scroll to the bottom of the Search Dialog settings and click on "More Options."
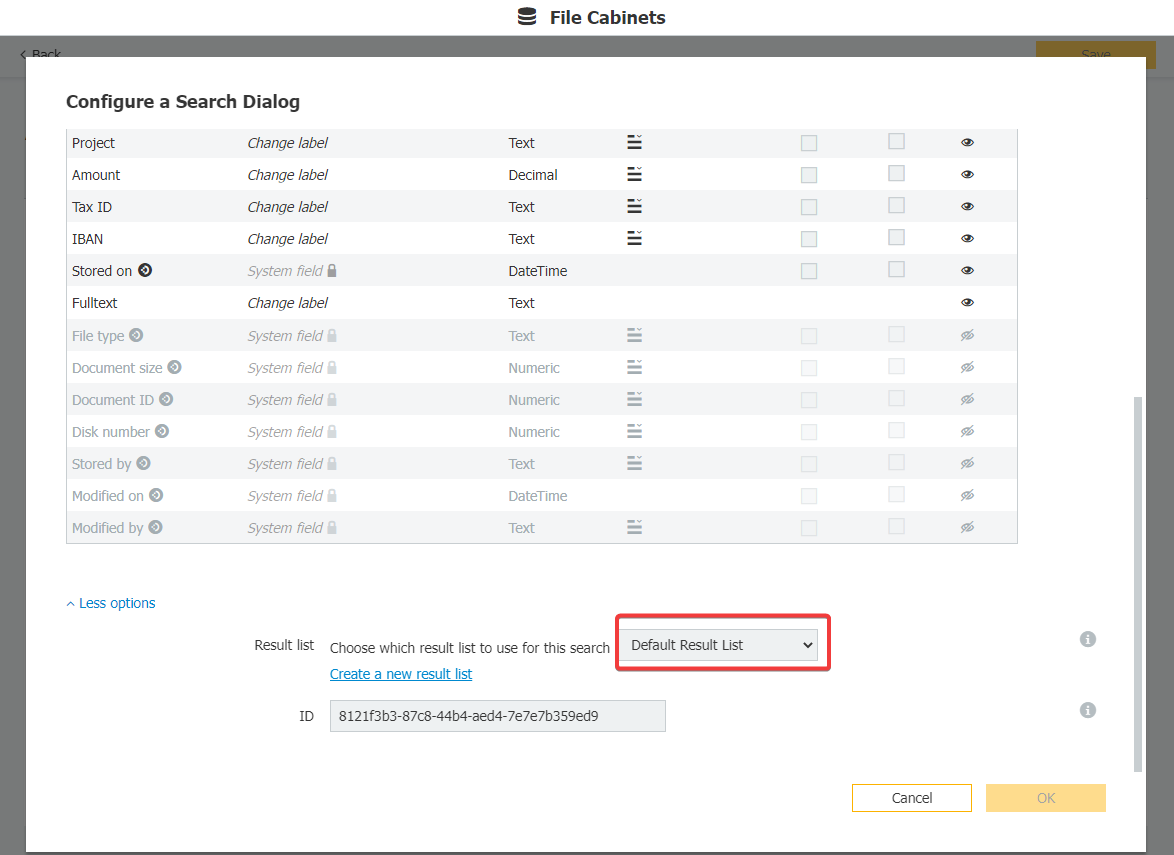
- To the right of “Choose which result list to use for this search”, you will see what Result List is being used by the Search Dialog. Click "Cancel" on the bottom right to exit out of this Search Dialog’s configuration.
- Locate the Result List being used and click on the Result List Dialog.
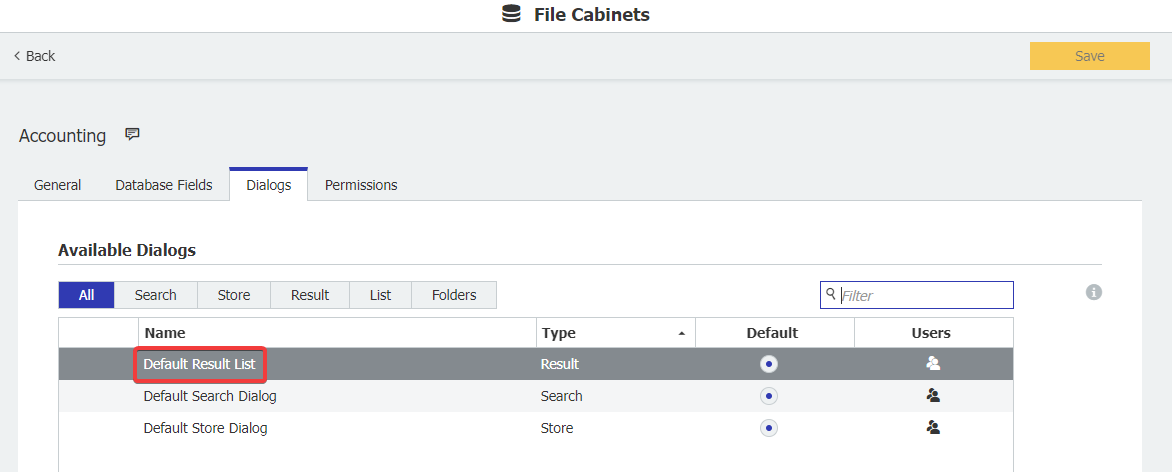
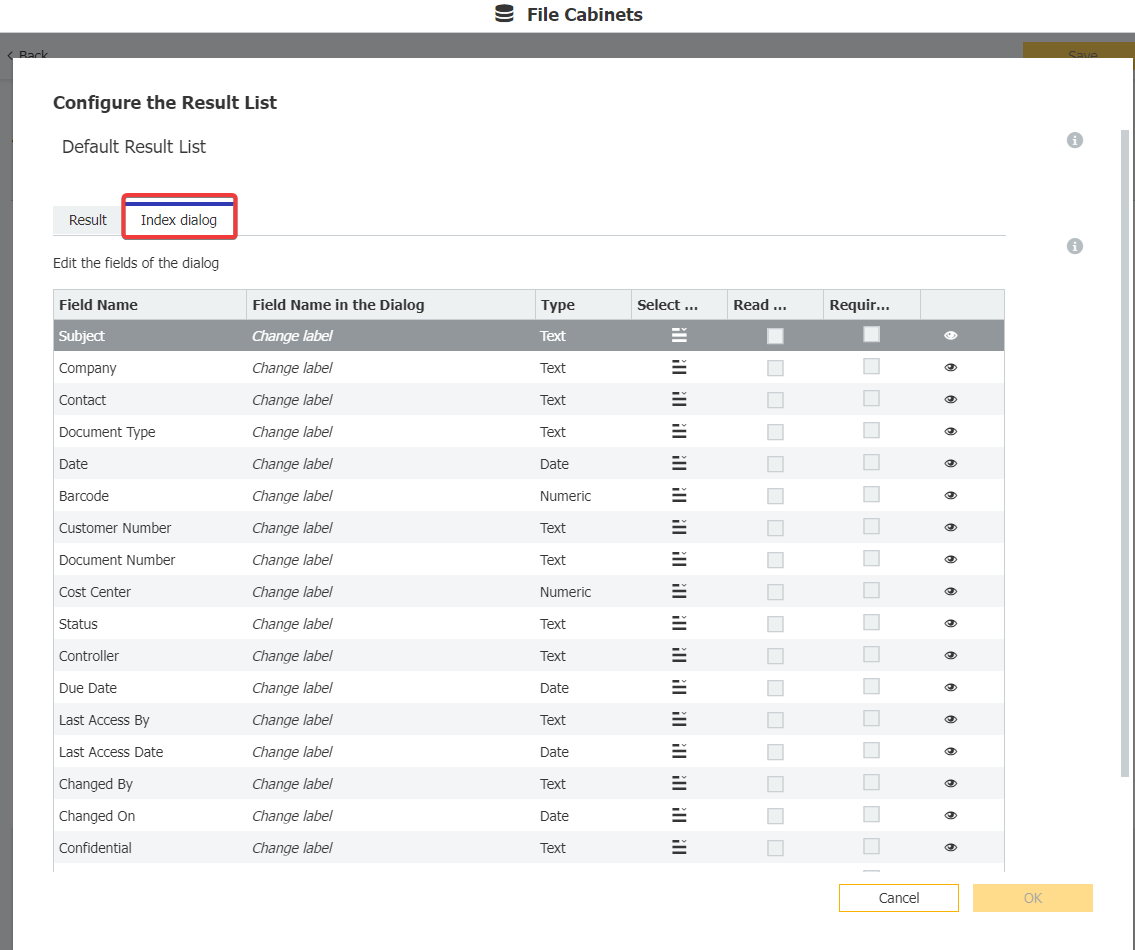
- Once the Result List is open, click on the Index dialog tab. Here, you have the following customization options:
- Change the display name of an index field in this Dialog
- Change the order of the index fields displayed by clicking and dragging the field to its preferred position.
- Hide particular index fields using the eye icon on the far right
- Set Read-Only and Required fields using the checkboxes as seen below.
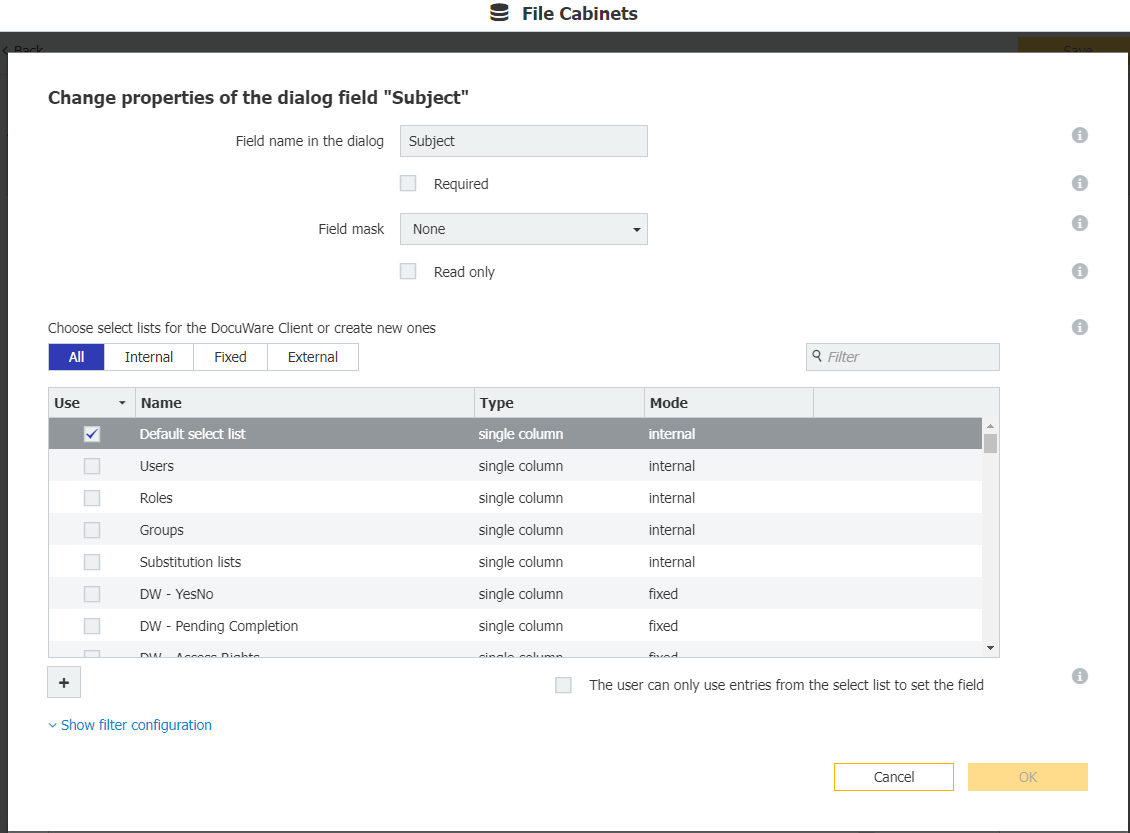
- Assign field masks and select lists by clicking on the index field name on the left side under the Field Name column
Once completed, click OK in the bottom right corner.
The following is what is displayed once you click on an index field. You can set field masks and select lists here.
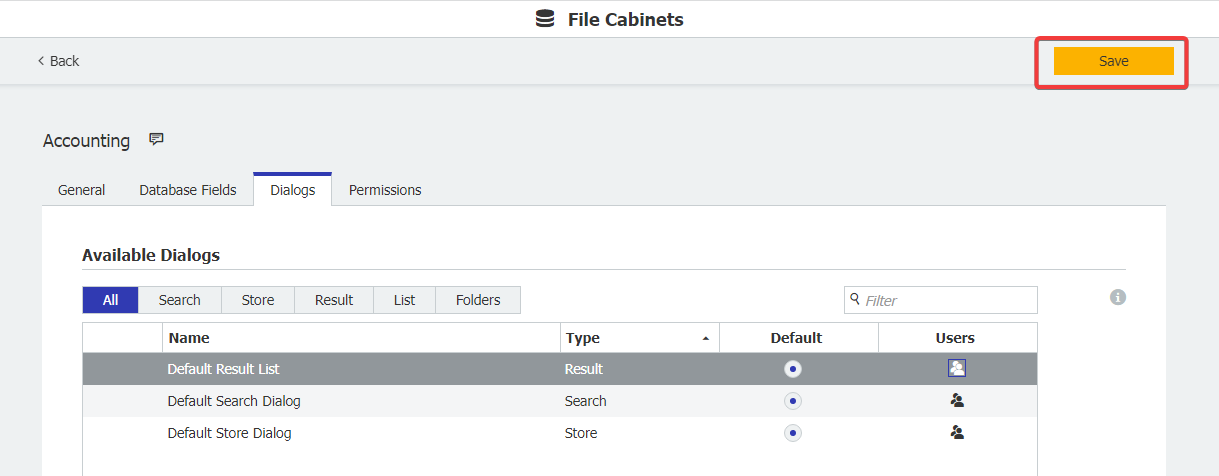
- Click Save in the top right corner. Once completed, either refresh the page or log out and log back in to see the changes in the Web Client.
KBA is applicable to both Cloud and On-premise Organizations.


