

Question:
How do you set a multi-column select list to a table field?
Answer:
To set a multi-column select list to a table field, you need a file connection configured. Please refer to KBA-35850 if you have not yet created a file connection.
Once a file connection has been created, please complete the following to set a multi-column select list to a table field;
1. Open the Configurations page from the Web Client and select the "File Cabinets" plugin.
2. Select the file cabinet for which you wish to use the table field and select the edit icon.
3. Select the desired table field from the database fields tab, then select "Configure."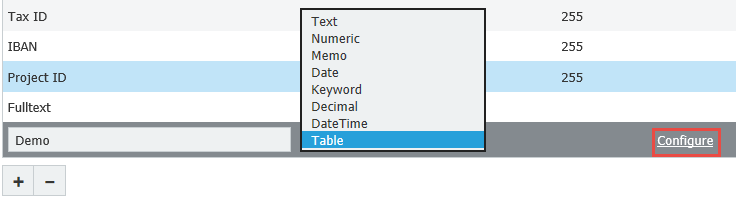
4. The file connection will display the available number of columns. Add a row for each column in the select list using the "+" symbol, then select "OK" at the bottom right.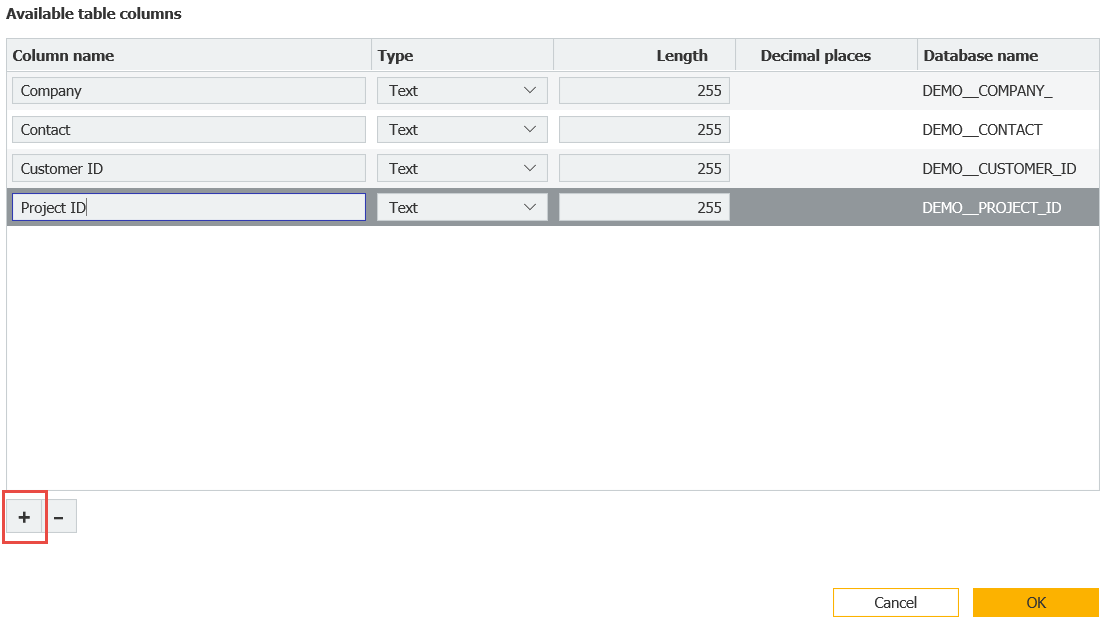
5. Select the Dialogs tab, then select the "Store Dialog" to be used with the table fields.
6. For each field that you wish to include in the multi-column select list, double-click the field to edit it.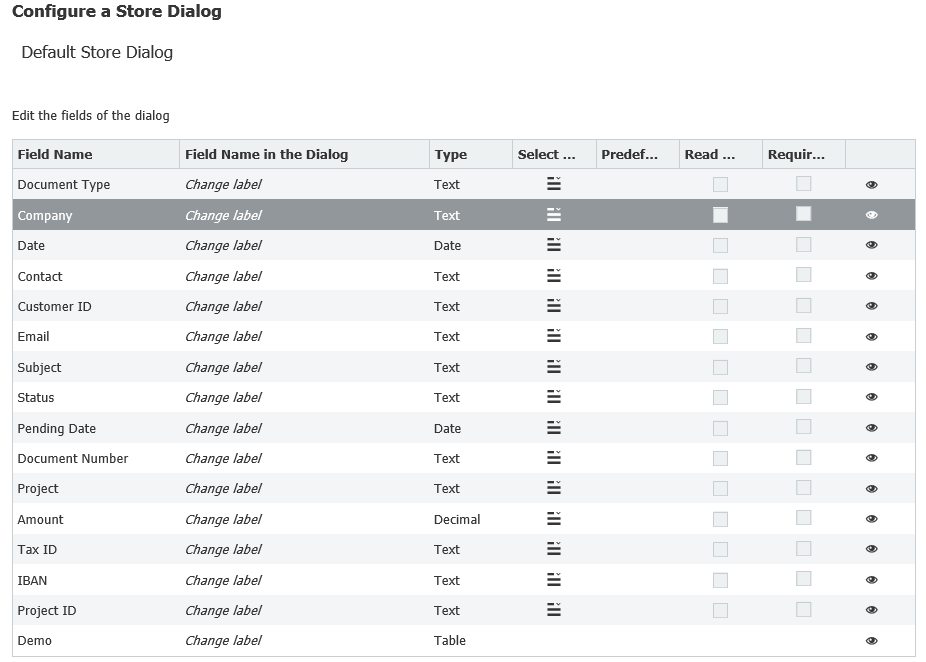
7. Choose your multi-column select list from the available options and what column the field is associated with. Then, select "Show filter configuration."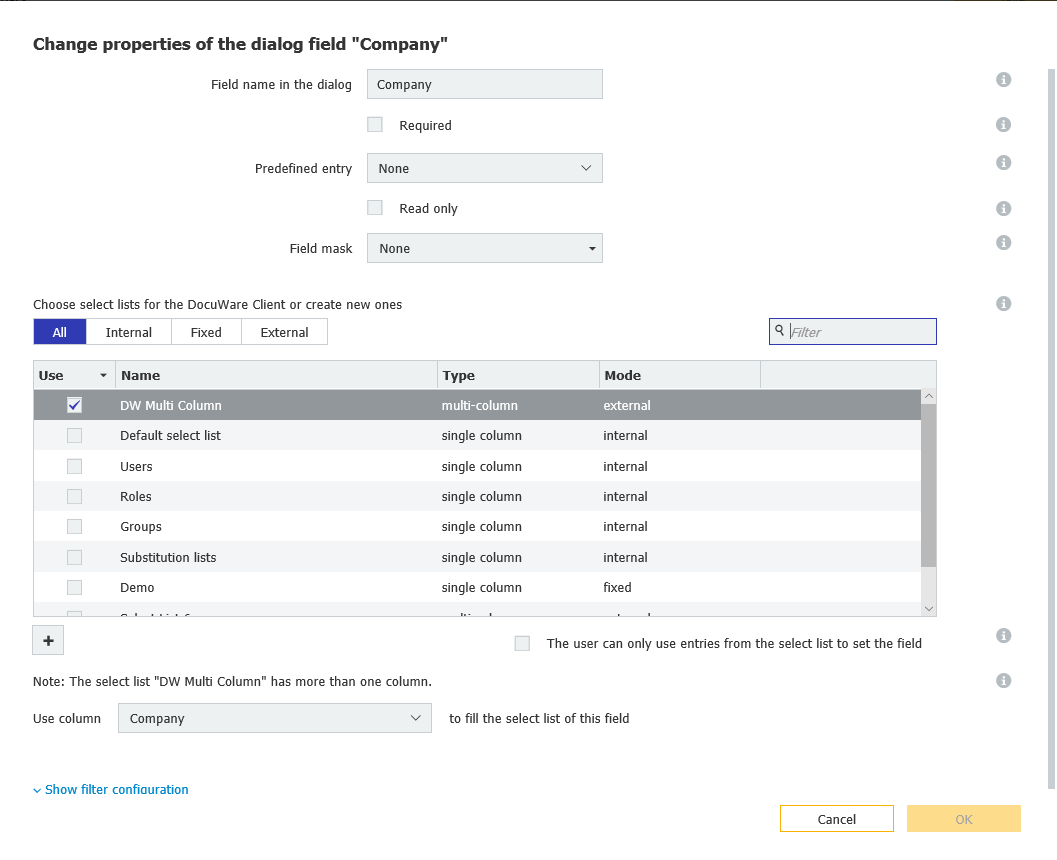
8. Here, you can map the remaining columns to the dialog fields used. 
9. Go back to the Web Client and refresh the page. When you go to store documents using the store dialog associated with the multi-column select list for your table field, the database entry will populate the values from your configured list.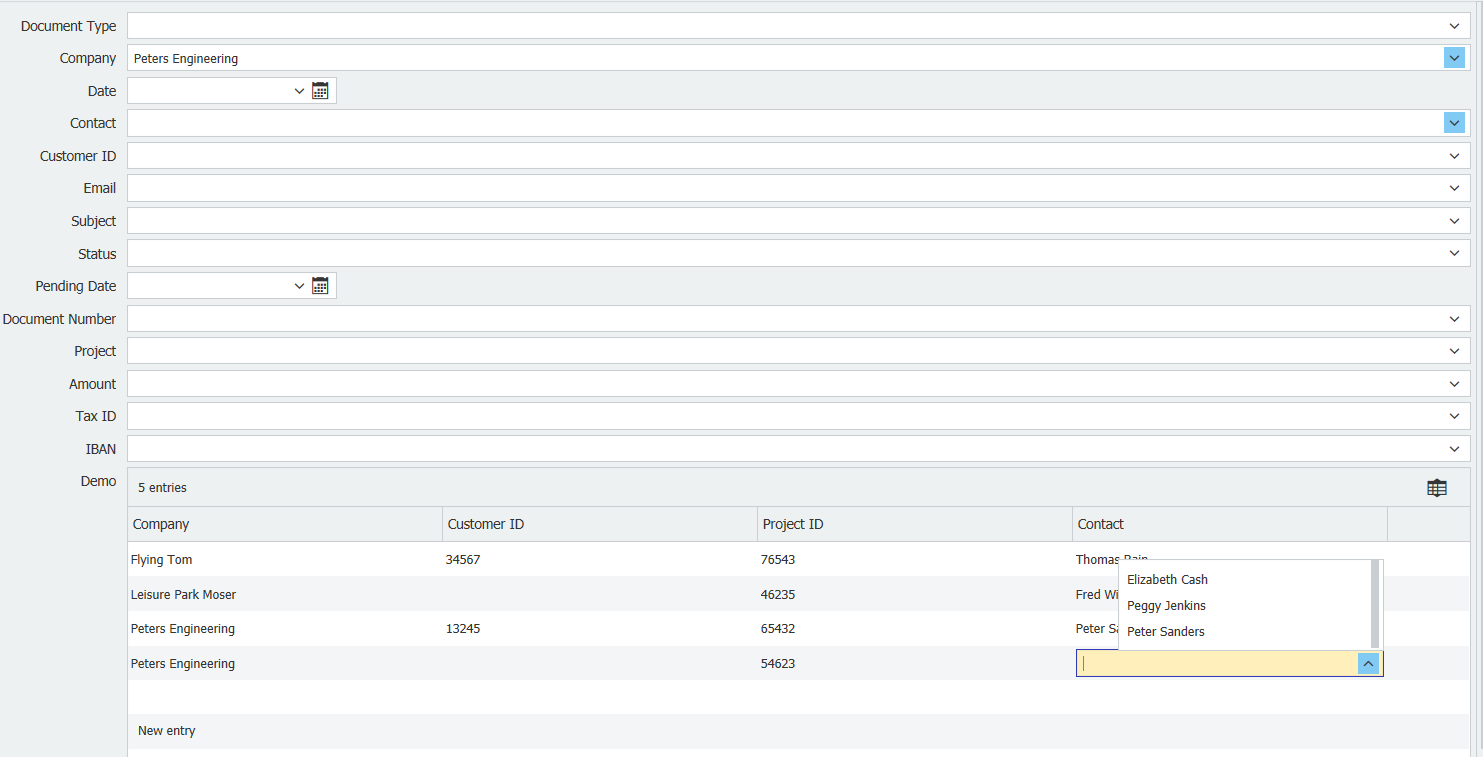
KBA is applicable for both Cloud and On-premise Organizations.