

Question:
How do you create a stamp with a date picker?
Solution:
Please refer to the following guide to create, design, and configure a Date Picker Stamp:
1. To create a stamp with a date picker, access the "Configurations" page via the dropdown next to the username in the Web Client.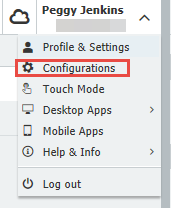
2. Select the "Stamps" plugin.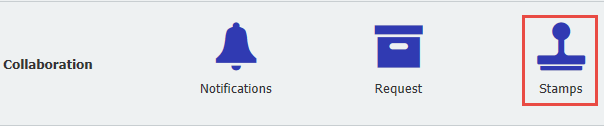
3. Once on the landing page, select "New Stamp" and then select "Text Stamp."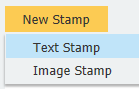
4. On the Designer tab, check the username box for a Predefined entry located under stamp settings and then select Add user input.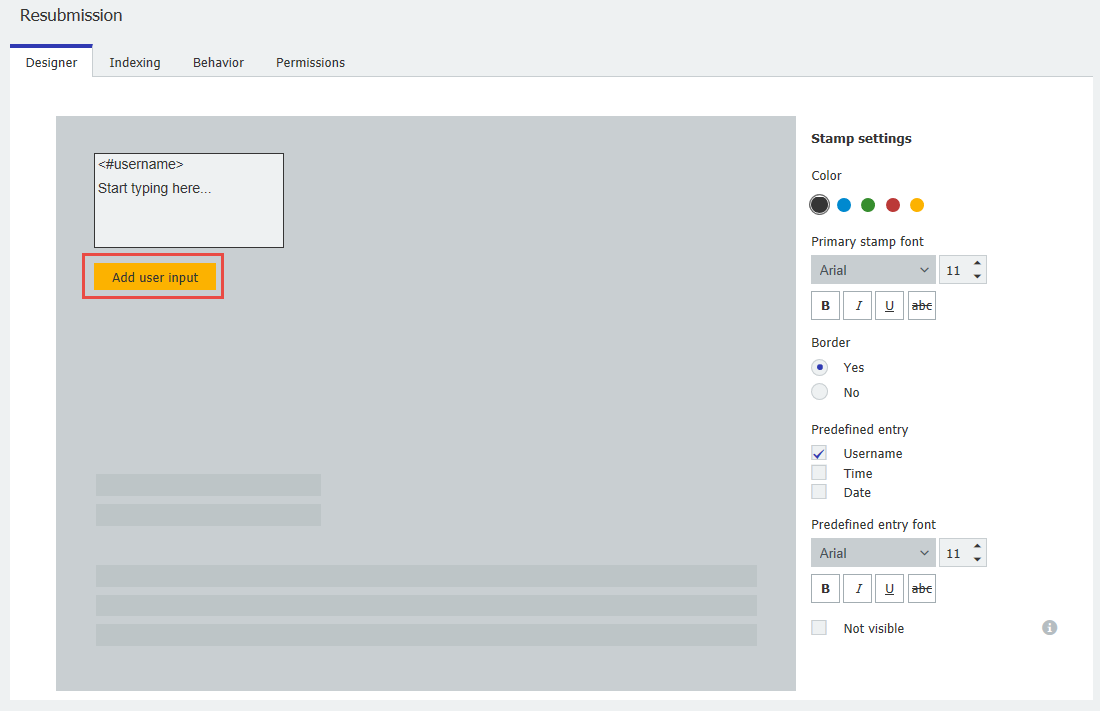
5. Enter "Date" in the field label, and under the field type, select "Text."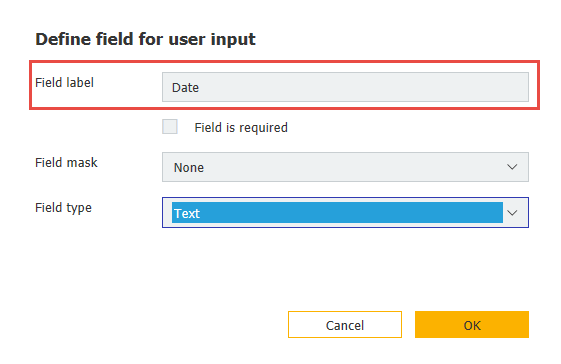
6. On the Indexing tab, select the document location to which this stamp can be applied. Next, define database field entries that will update once the stamp is applied.
Then, select the file cabinet where these fields are.
Use the "+" symbol to add index fields from the file cabinet you selected. Choose a date database entry for this stamp from the "Field" drop-down, and then select "User" from the "Fill with" dropdown.
(Note: Please make sure you have created a "Date" database field within the file cabinet you have selected, if not, please create one in the File Cabinets plugin)
7. On the Behavior tab, you can choose what happens after the stamp is applied to the document.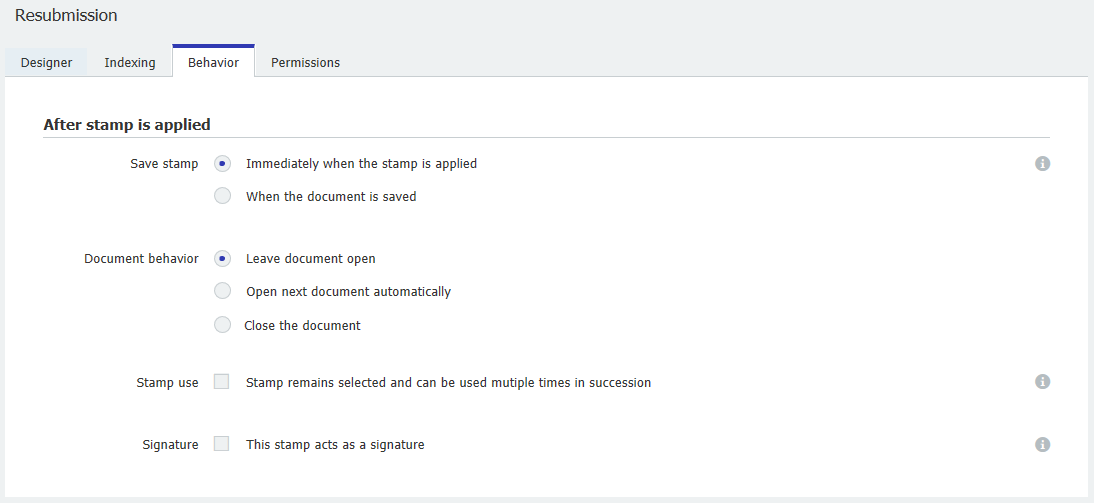
8. On the Permissions tab, you can set a password that must be entered before applying the stamp. Then, by clicking the "+" symbol, you can add users who have permission to use this stamp. 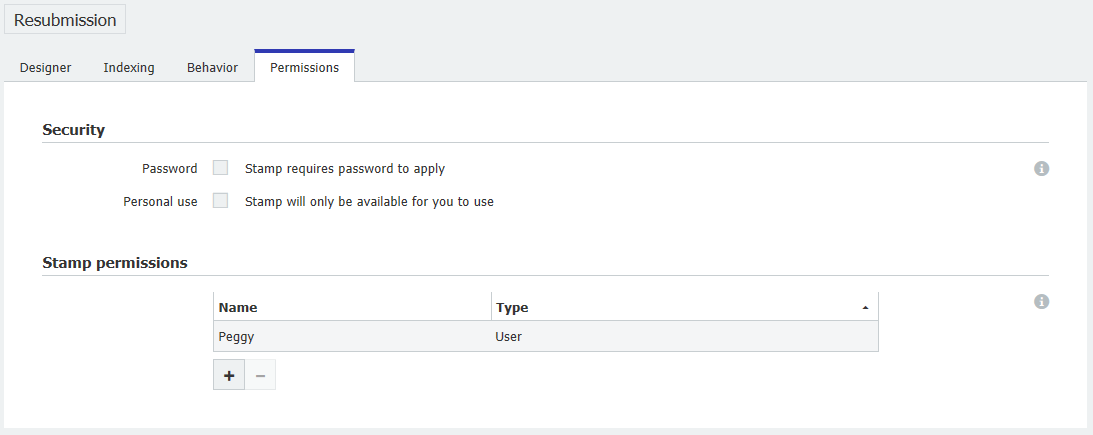
Once completed, go to the Web Client and refresh the page. Your new Date Picker Stamp will now be available for use.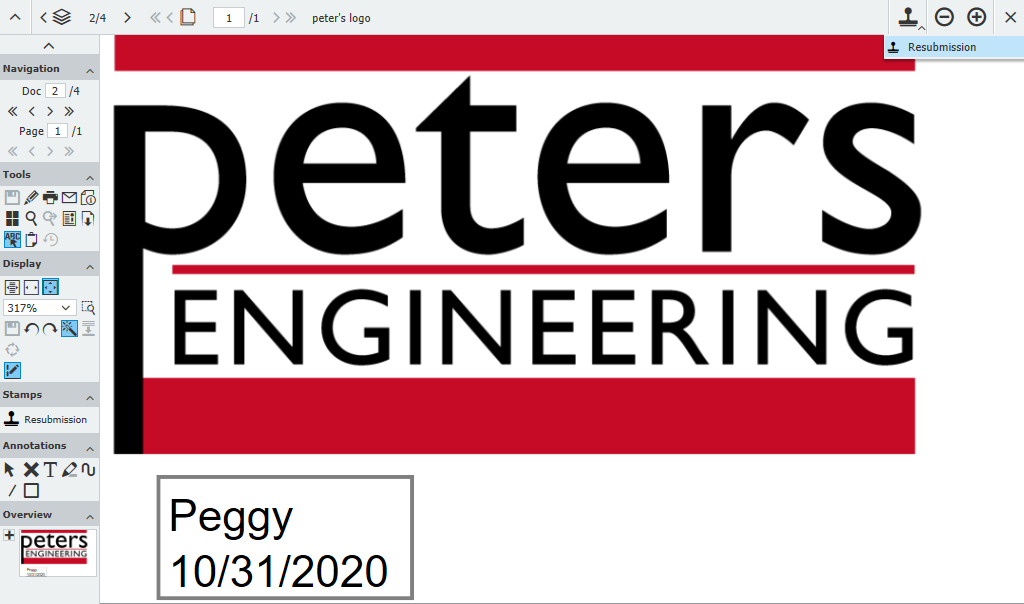
KBA is applicable for both Cloud and On-premise Organizations.