

Question:
How do you configure a dummy scan device?
Answer:
You can create one or more dummy scan devices to test or introduce the functionality of DocuWare Desktop WebScan.
1. Create a directory on the file system. Example: C:\Scanner\
2. Open the created directory and create one or more folders - these folders are used for the dummy scan device. These folder names will also be used as the display name of the scanning device in the DocuWare Desktop application.
(Example path: C:\Scanner\TestScan\)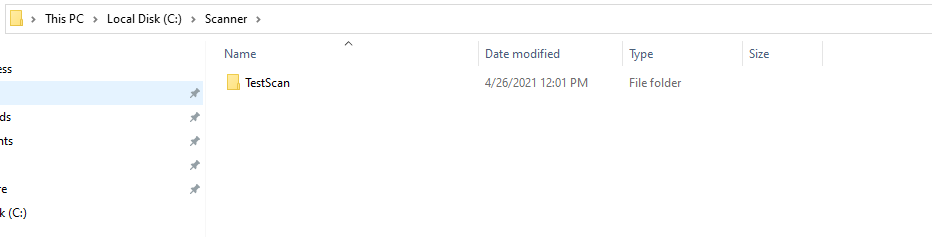
3. Proceed into the TestScan directory and paste the documents you wish to be "scanned."
(Note: The file type must be .BMP extension) 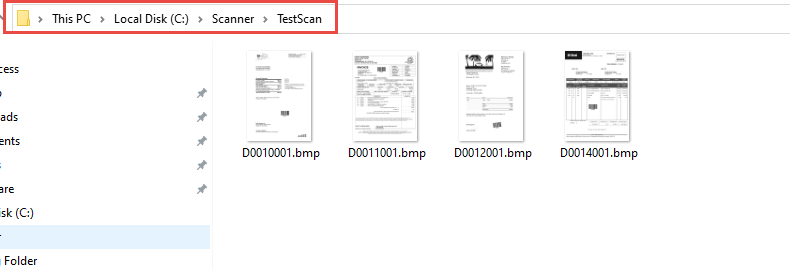
4. Open the following file: "C:\Program Files (x86)\DocuWare\Desktop\Plugins\Scanner\Desktop.CaptureService.Host.exe.config"
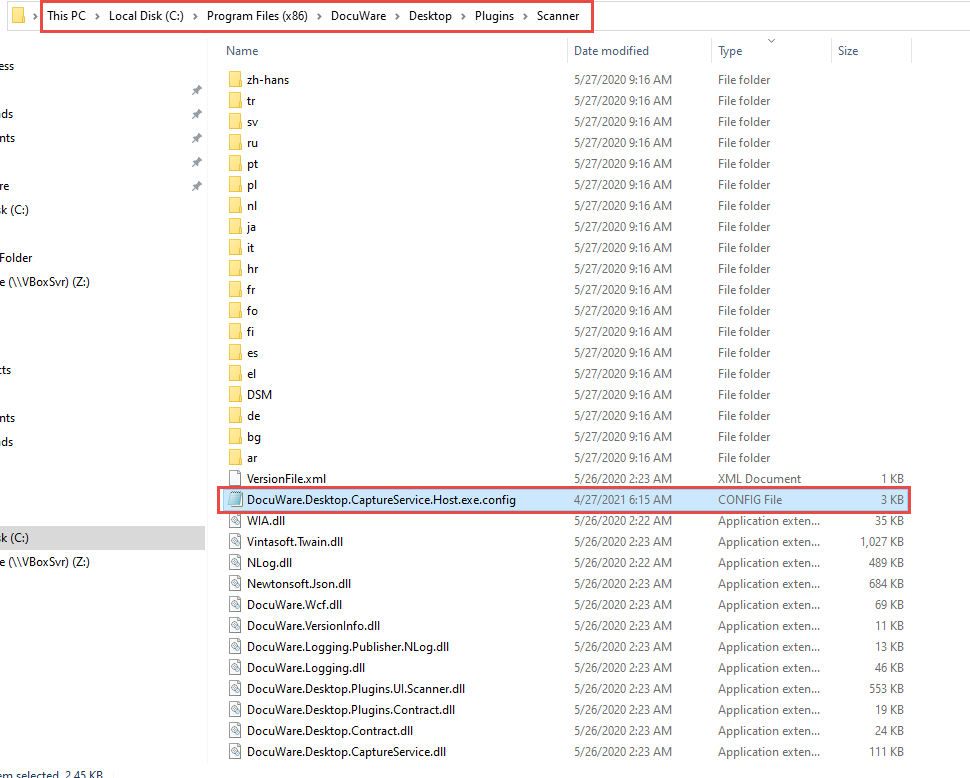
5. Define the path for the <add key="DummySource" value="C:\Scanner" /> and save the file.
(Note: Please enter the value according to what you named your directory. In our example, the directory was named C:\Scanner)
6. Restart the DocuWare Desktop application.
You can configure the scanner like a physical scanner using the settings in the application.
If you click on "Scan" in the Desktop App, the previously copied BMP files will get "scanned," and you'll see them as a thumbnail in the application for further processing.
KBA is applicable for both Cloud and On-premise Organizations.