

Question:
How do I setup & use the DocuWare Local Data Connector?
Solution:
The Local Data Connector is a service that runs alongside DocuWare Desktop Service to allow the DocuWare Cloud system to access a local database for Autoindexing or Select Lists.
Installation:
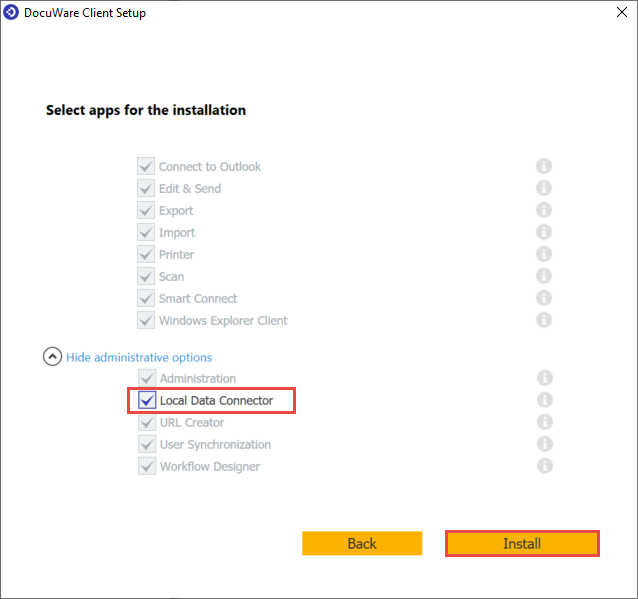
- From the DocuWare Web Client, run the Client Setup installer by selecting "Install Desktop Apps" from the dropdown under your username.
Scroll down to the Administration options, then select the Local Data Connector and click press "Install."
- After the Client Setup has run, you will have a new program item alongside a new service installed on your desktop named “Local Data Connector”


Note: the Local Data Connector is installed to run by default as a Local System. This is fine for connections to databases where you will provide the user name and login. However, if you need to use Windows Authorization to connect to the database, then the DocuWare Local Data Connector service must run as the same user that will be executing the login to the database. Also, the user must be a local administrator on the machine where the service is running.
Configuring the Local Data Connector
- Start the Local Data Connector app, click DocuWare Credentials, and enter your User Name and Password.
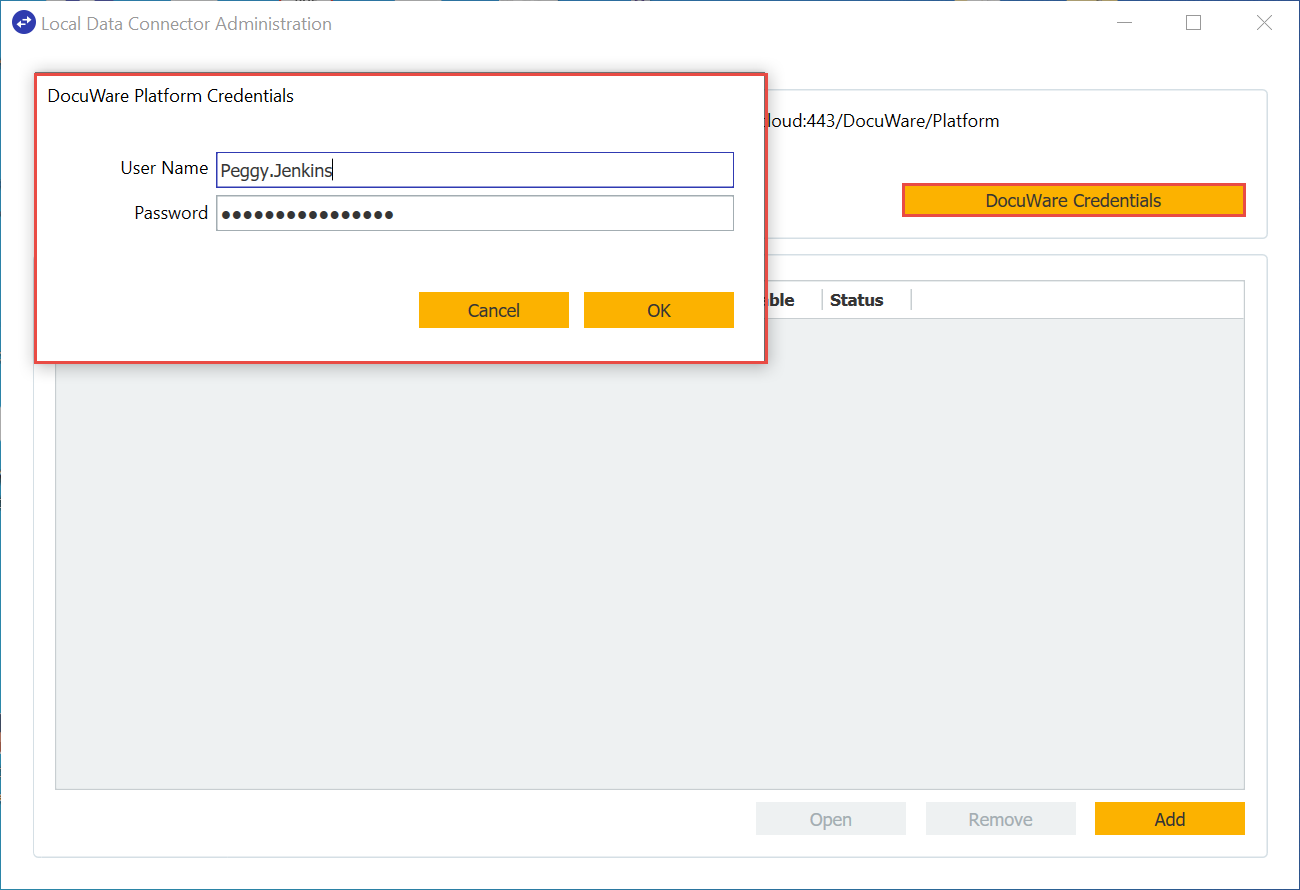
- Press OK, and if your credentials are valid, you will get a confirmation message noting that the credentials are correct:
- Once credentials have been authenticated, configure the Data Source. Select "Add" on the homepage of the Local Data Connector. Displayed will be all the needed information in order for the Local Data Connector to access the Database instance you are attempting to connect to.
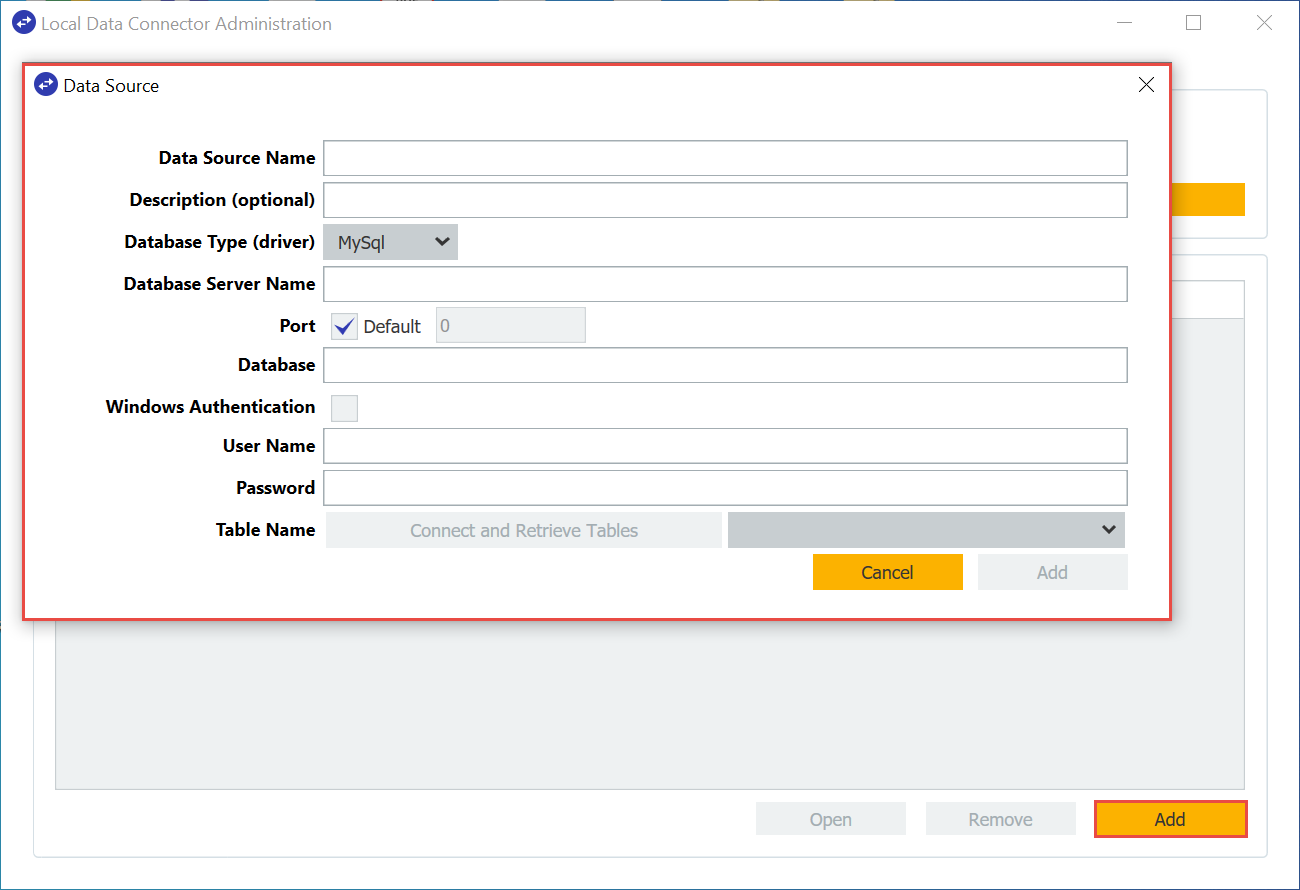
Note: Remember, if you want to use Windows Authentication then the Local Data Connector Service must run as the same user that will log in to the database.
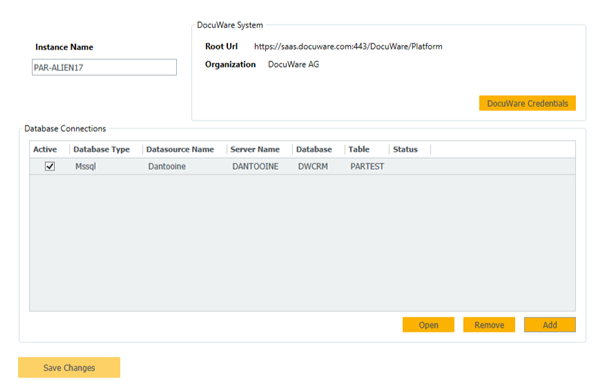
- You may find that if your table holds a very large amount of data, then the connection may fail, or there may be problems processing the data with Autoindex or Select Lists. If this is the case, we recommend that you create a view where the data is filtered to a more moderate level. After you have connected to the database and the table you wish to pull data from, select add. You will now see your newly created database connection on the homepage of the Local Data Connector.
Note: it is not possible to edit the connection details. If you wish to change anything, you need to delete the connection and recreate it or create a new one.
Utilizing the Local Data Connector in Select List:
- Open the Indexing Assistance plugin from the Configurations page and create an External Select list.
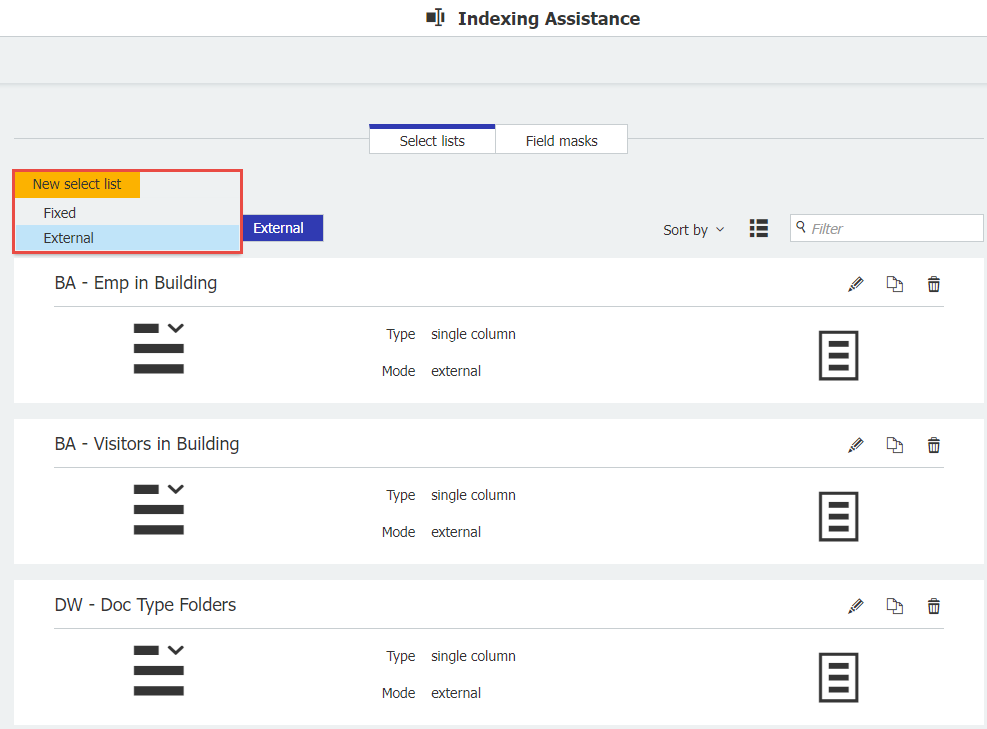
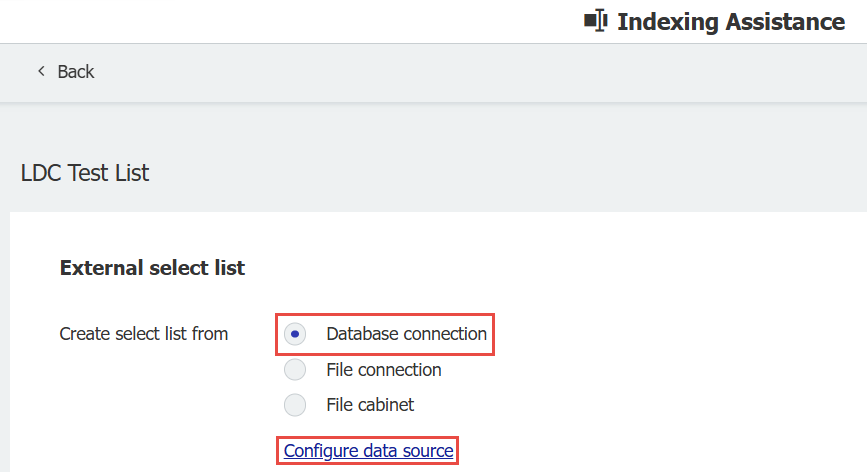
- Name your list, select "Database connection" then click "Configure data source".
- From the Source dropdown, select "Choose Local Data Connection".
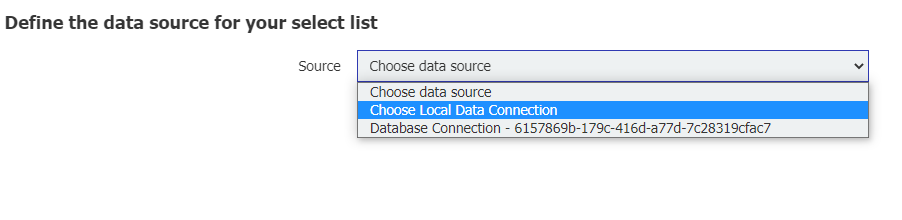
Select your data connection from the dropdown list. Now you will see the database field names that you can choose from.
Select the field or fields (if creating a multi-column list) and press OK. Once you see the data from the selected fields, your list is now ready to be assigned to a dialog.
Utilizing Local Data Connector in Autoindex
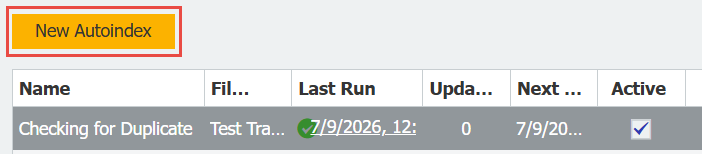
- Navigate to the Autoindex plugin and create a new Autoindex configuration.
- On the Match Data tab, enable "Index with external database" then select the name of the Local Data Connection source.
Our fields from the Local Data Connection will begin to populate. From here, you may proceed in creating the Autoindex job to your desired preference.
KBA is applicable to Cloud Organizations ONLY