

Question:
How do I create a Transfer job?
Answer:
Please refer to the following guide to learn how to create and customize a Transfer job;
1. Log into the Web Client, select the dropdown next to your name, and select the Configurations option.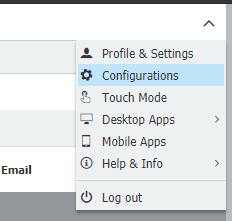
2. Next, find and select the Transfer plugin on the Configurations page.
3. Select the option New Transfer located at the center of the page.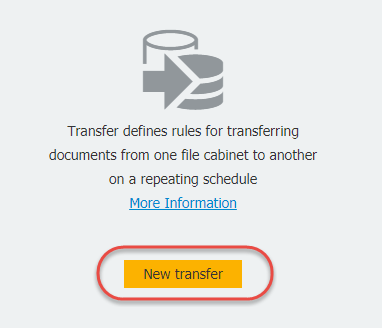
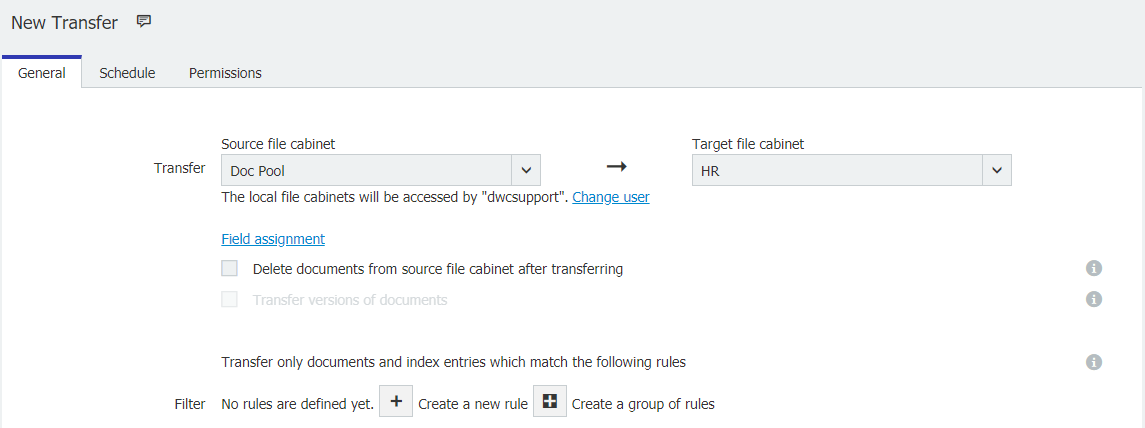
4. On the landing page of the new transfer job, you're given the options to:
- Select the transfer source and target file cabinet
- Delete the documents from the source cabinet once moved
- Enable transfer for cabinets with version management enabled
- Set a filter to transfer only specific documents
For more information, each of these options will have an info  icon located to the right. When hovering over this icon, you will provide a brief description.
Note: Document duplication will occur if a job is run more than once without a filter or without deleting the documents from the source cabinet.
Note: Cloud organizations can only transfer within the same organization.
Note: Document duplication will occur if a job is run more than once without a filter or without deleting the documents from the source cabinet.
Note: Cloud organizations can only transfer within the same organization.
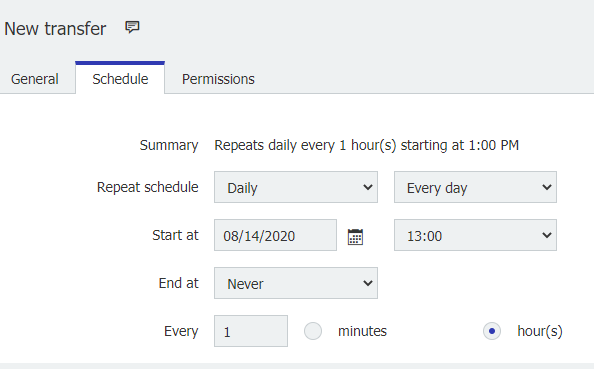
5. On the Schedule tab, you can select when and how often this job will recur.
These options include:
- Daily
- Weekly
- Monthly
- Never
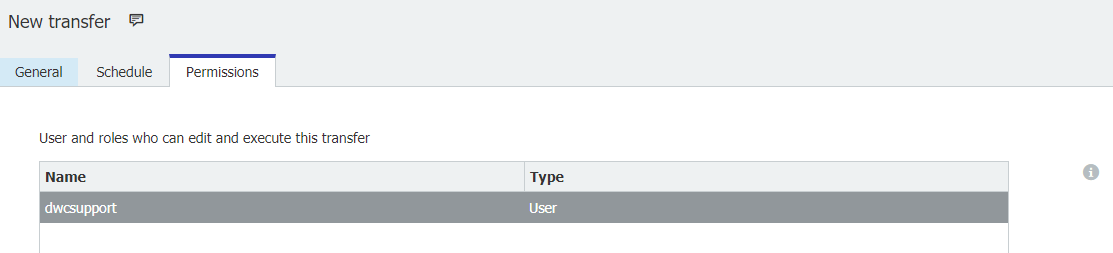
6. On the Permissions tab, you can grant users the ability to administrate or run this job.
7. Once you have configured your transfer job, save your changes and head back to the page where you selected the new transfer. You should now see your job listed on this page.
If the job is set to a schedule, it will run once that criteria is met. Otherwise, selecting the "Start Now" icon will begin your job.

KBA is applicable for both Cloud and On-premise Organizations.