

Comencing in DocuWare version 7.14, the File Cabinet Disks configuration has moved from the now-retired DocuWare Administration tool, to the Web Client Configurations page.
File Cabinet Disks can be found under the Document Storage section of the configurations page.
The File Cabinet Disk Plugin for DocuWare provides an interface for managing disks assigned to individual File Cabinets.This module allows administrators to monitor, view, add, or remove associated disks.
When opened, the configuration displays a table of all available File Cabinets that are currently configured for use with the File Cabinet Disks Plugin.
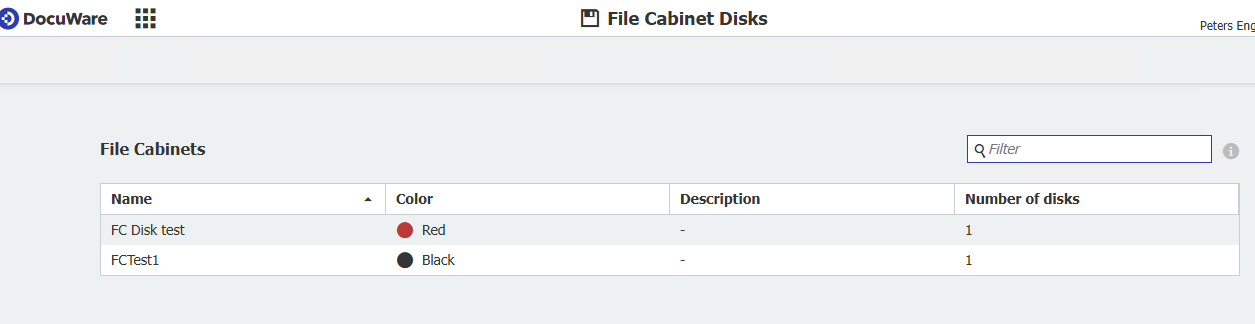
The table includes the following columns:
Filter Field
-
Located in the upper-right corner.
-
Allows users to filter the File Cabinet list by name.
-
Useful when working with multiple File Cabinets.
When a user clicks on a specific File Cabinet from the main overview list, the system opens the File Cabinet Disk Details page. This page is used to manage all disks assigned to the selected File Cabinet.
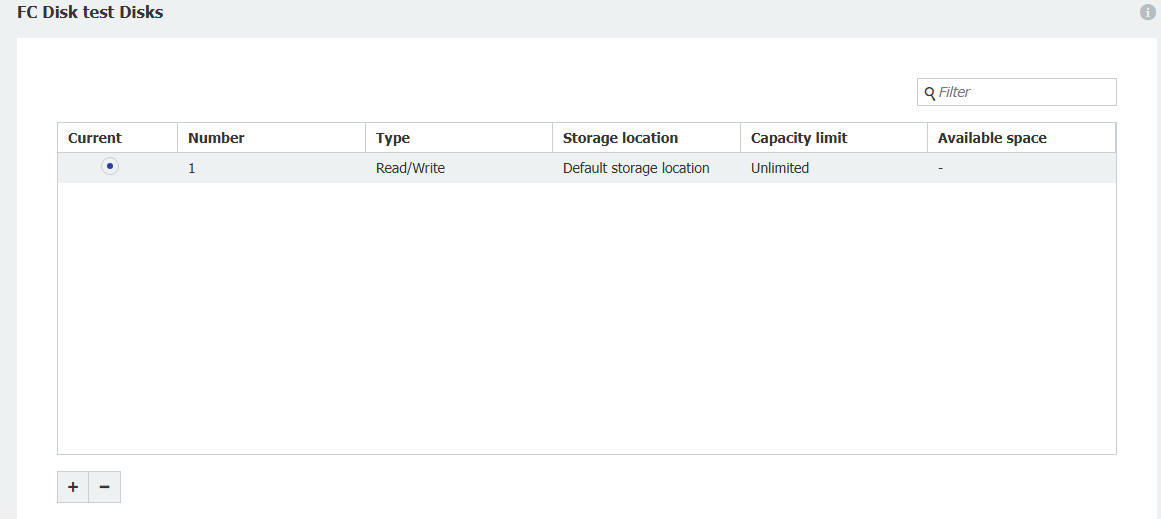
The center of the page displays a table listing all disks assigned to the selected File Cabinet. Each row represents one disk. The table includes the following columns:
At the bottom-left of the page are the disk management controls:
-
+ (Add Disk)
Adds a new disk entry to the table. -
– (Remove Disk)
Removes the selected disk from the list.
Adding or Removing a Disk
On the Disk Details page, administrators can add new storage disks or remove existing ones using the controls in the bottom-left corner of the screen.
To add a new disk:
-
Click the + (Add Disk) button.
-
A new dialog window will appear titled “Edit disk settings”.
-
Configure the disk properties as described below.
-
Click OK to confirm.
-
Finally, click Save on the main page to apply the changes.
Edit Disk Settings Dialog
When adding a new disk (or editing an existing one), the following dialog window is displayed:
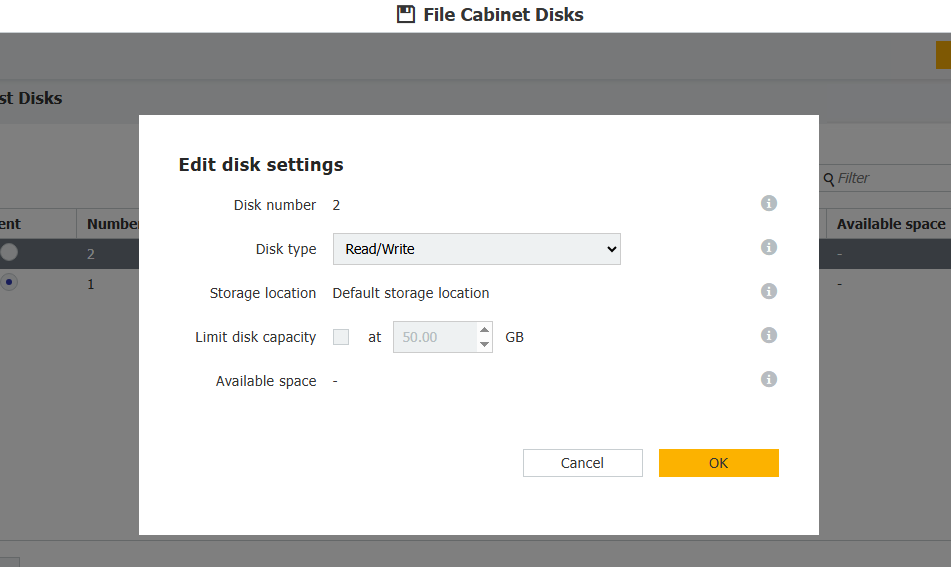
Edit disk settings Fields and Options
All fields include contextual info icons (i) for additional information.
Removing a Disk
To remove an existing disk:
-
Select the disk row in the table.
-
Click the – (Remove Disk) button.
-
Confirm removal if prompted.
-
Press Save to finalize the deletion.
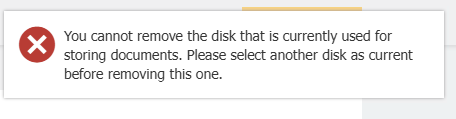
Note: Some disks cannot be deleted (e.g. the current active disk that is in use). System restrictions may apply based on configuration or storage rules.
KBA is applicable to On-premise systems ONLY!