

Pregunta:
¿Cómo crear un sello personal en la versión 7.3 o superior?
Respuesta:
Consulte la siguiente guía sobre cómo crear un sello personal;
1. Accede a la página de Configuraciones a través del desplegable situado junto al nombre de usuario.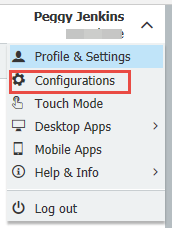
2. Selecciona el plugin "Sellos".
3. Cuando selecciones Nuevo Sello, tendrás la opción de un Sello de Texto o un Sello de Imagen.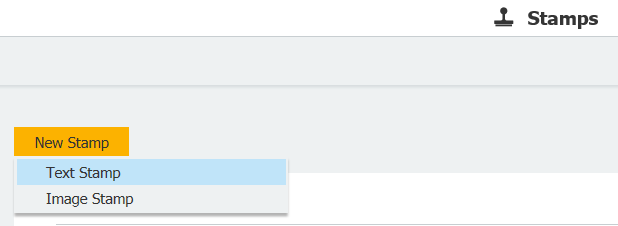
4. Este sello se puede personalizar añadiendo texto o índices que se mostrarán en el sello.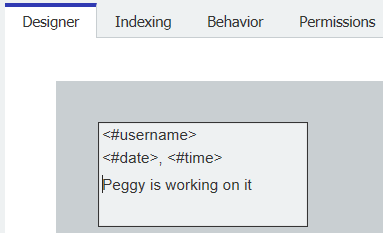
5. Seleccione Añadir entrada de usuario para definir un campo para la entrada del usuario.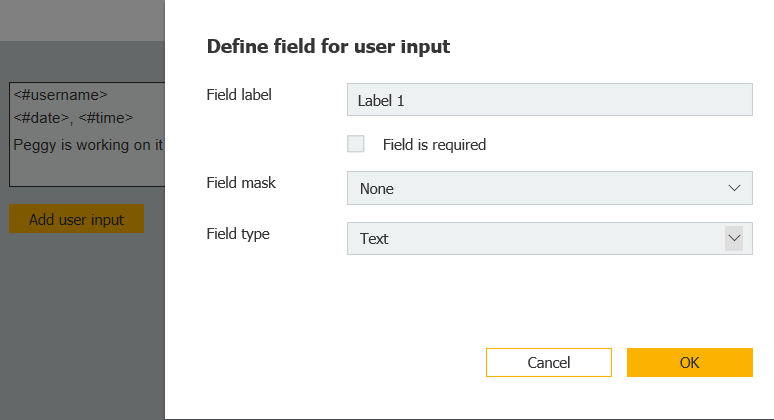
6. En la pestaña Indexación, puede seleccionar el archivador para la asignación del sello. También puede definir los campos de la base de datos que se actualizarán cuando se aplique el sello, si es necesario.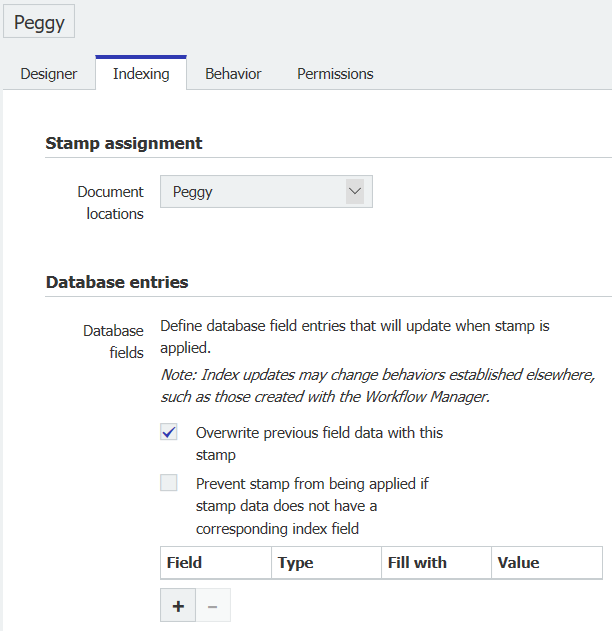
7. En la pestaña Comportamiento, seleccione qué ocurre después de aplicar el sello.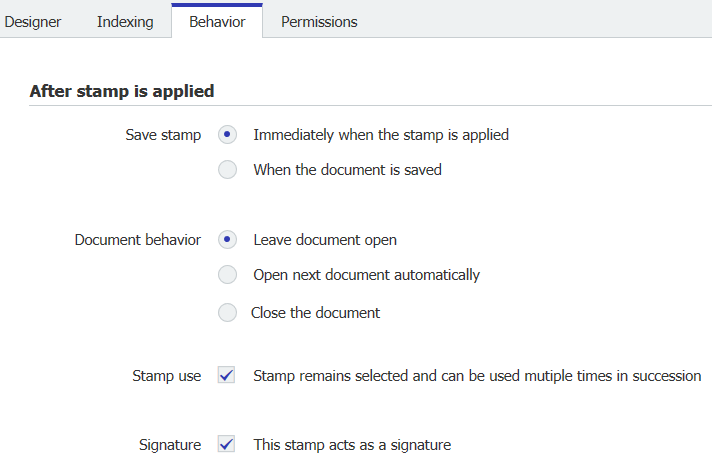
8. En la pestaña Permisos, seleccione Uso personal para hacer de este un sello personal que solo esté disponible para el creador del sello.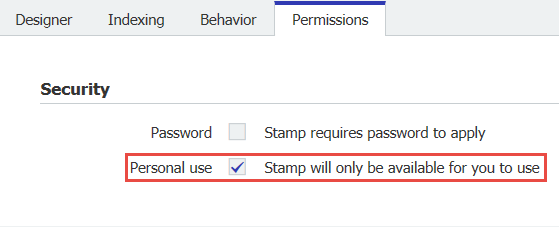
9. Después de crear el sello, actualice el Cliente web. Cuando guarde su próximo documento, su nuevo sello estará disponible.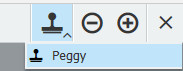
KBA es aplicable tanto para organizaciones en la nube como locales.
Tenga en cuenta: Este artículo es una traducción del idioma inglés. La información contenida en este artículo se basa en la(s) versión(es) original(es) del producto(s) en inglés. Puede haber errores menores, como en la gramática utilizada en la versión traducida de nuestros artículos. Si bien no podemos garantizar la exactitud completa de la traducción, en la mayoría de los casos, encontrará que es lo suficientemente informativa. En caso de duda, vuelva a la versión en inglés de este artículo.