

Question:
How do you create a file cabinet in DocuWare version 7 or higher?
Solution:
Please refer to the following guide to create a file cabinet;
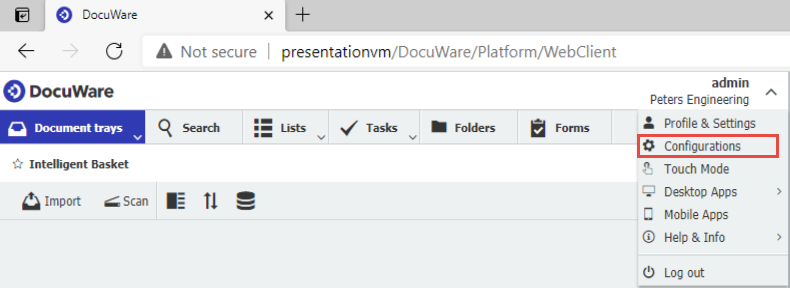
1. Navigate to the Configurations page from the dropdown under the user name.
2. On the Configurations page, navigate to the File Cabinets plugin. If you do not see this, you may not have the rights to create file cabinets and would need to talk to the system administrator.
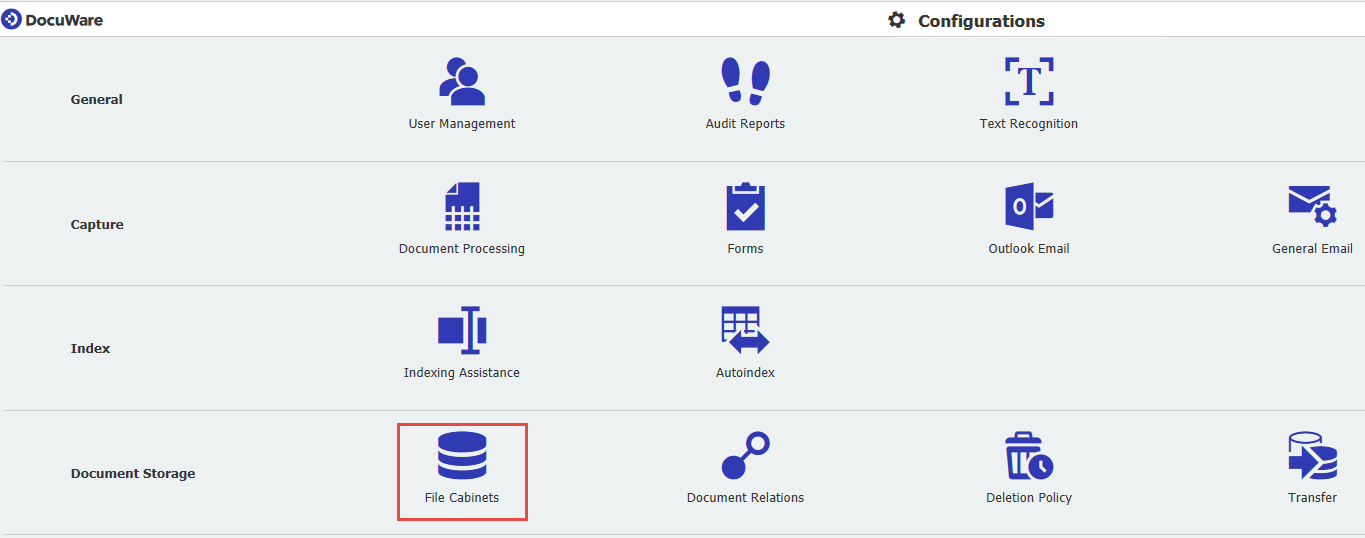
3. Click on “New file cabinet.”

On the General tab, when creating your file cabinet, fill the three customization options:
Name
The file cabinet name entered here is the name that appears in the DocuWare Web Client.
Description
You can enter a brief description of the file cabinet here.
Color
You can select the color of the file cabinet symbol.

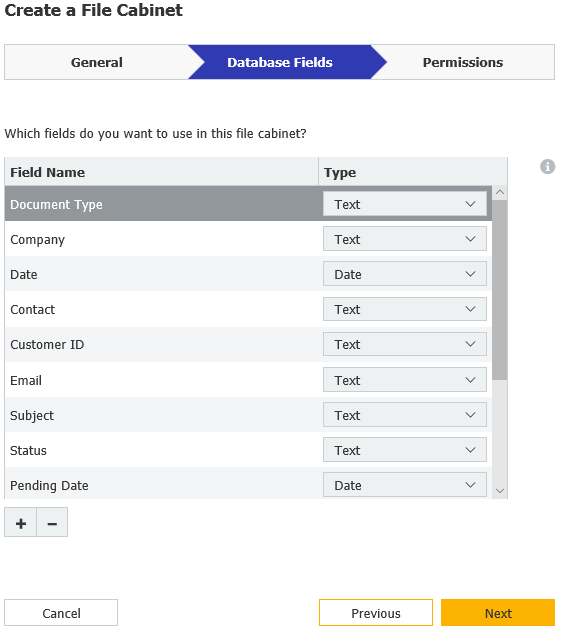
4. From the Database Field tab, specify or add your Database Fields.
(For more information on Database Fields, please refer to DocuWare Knowledge Center)
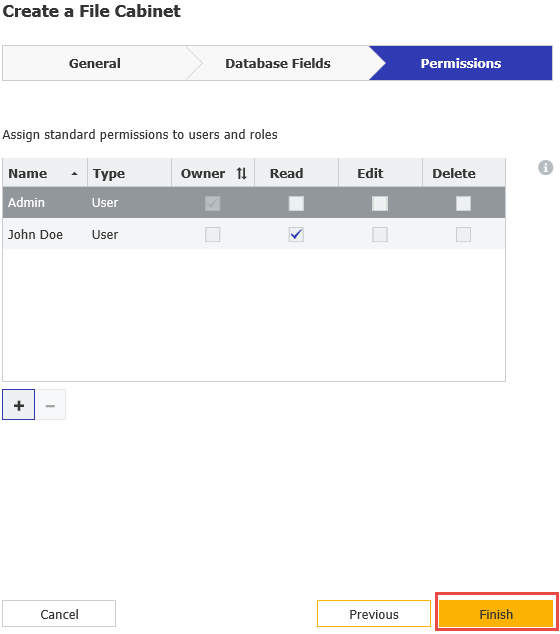
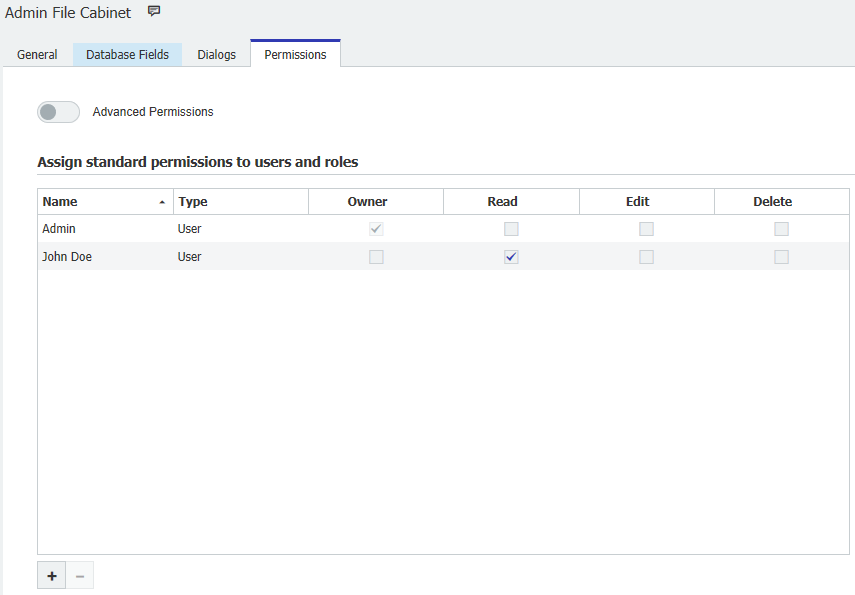
5. On the Permissions tab, add users and assign standard permissions. Click Finish once completed.
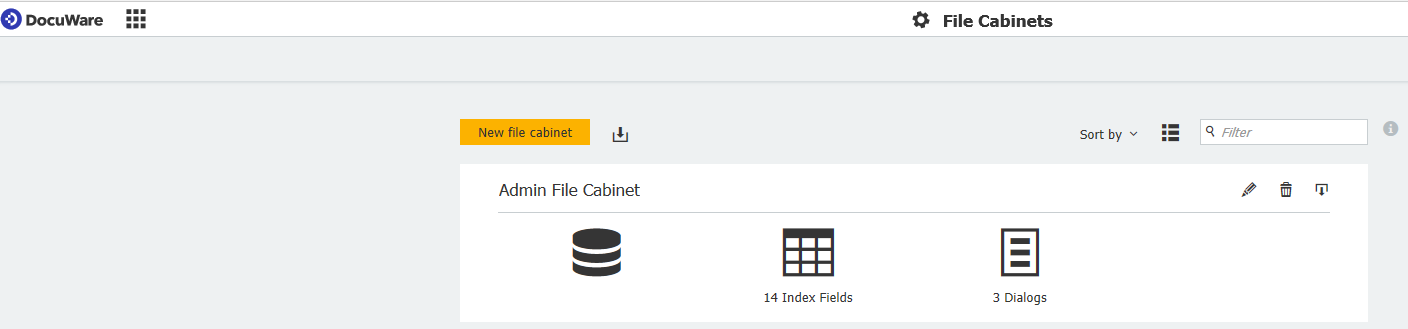
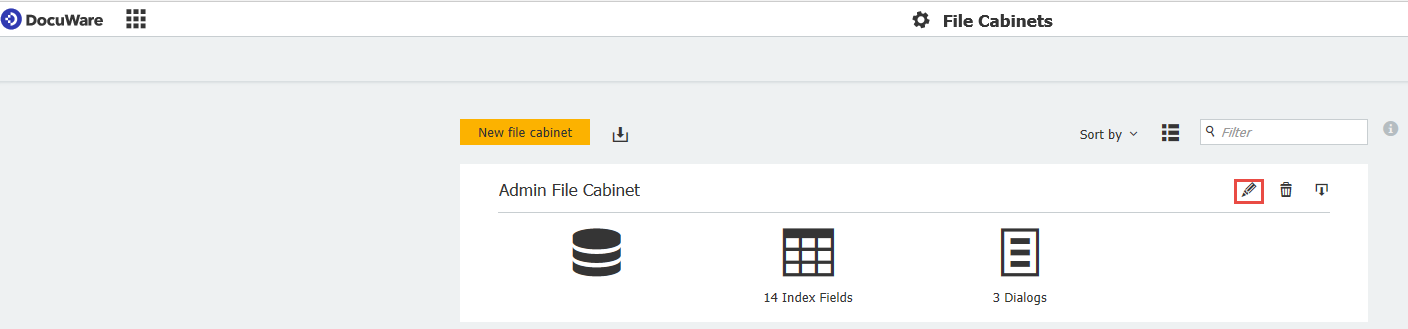
6. The new File Cabinet is created. To edit and view this new file cabinet, click on the "Edit icon"
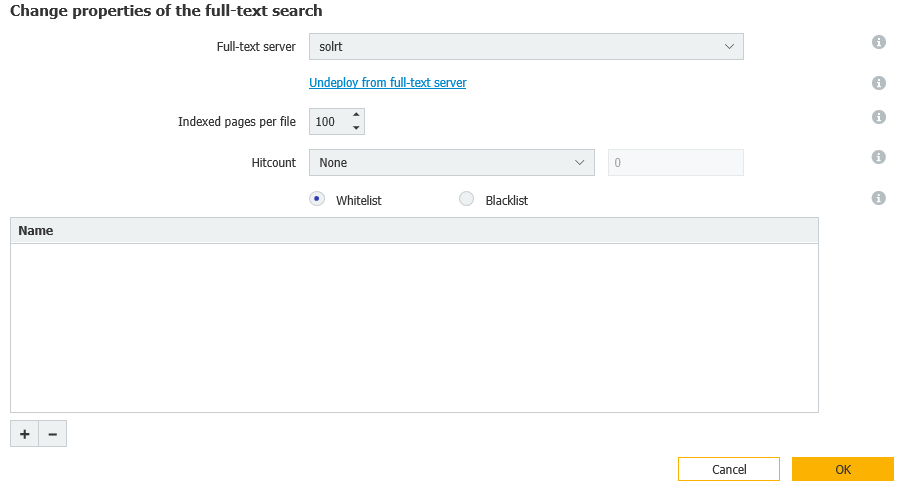
7. In the General section, you can change the color of your file cabinet and have the option to enable the Fulltext. Under “More options,” you will see more options for Fulltext. This will also display security and administrative information pertaining to the file cabinet.
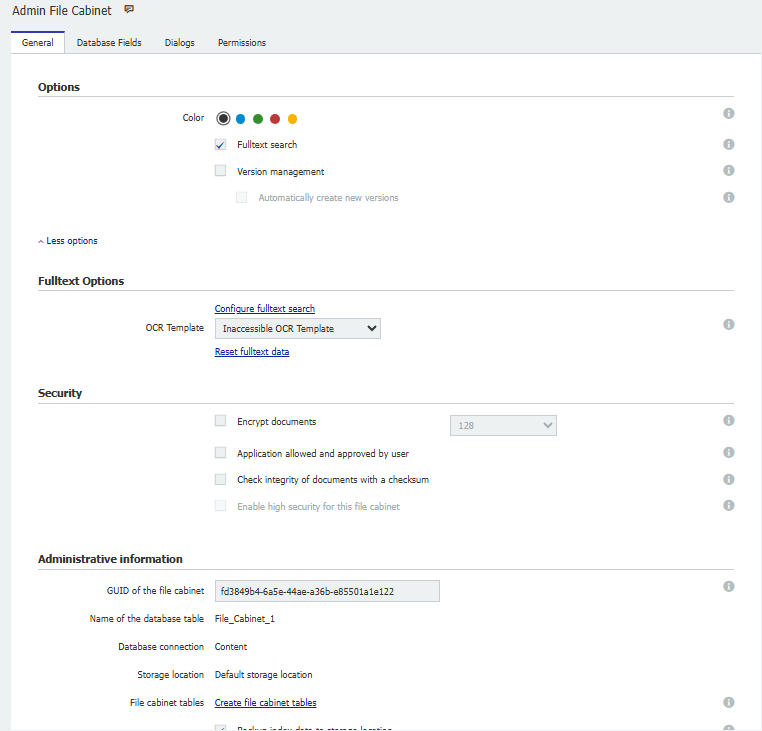
(For more information on this Fulltext area, please refer to DocuWare Knowledge Center.)
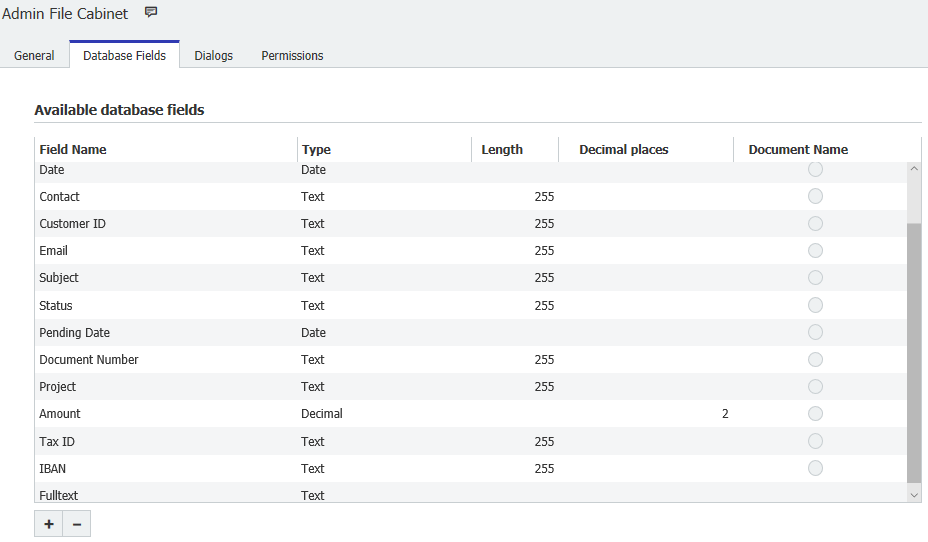
8. In the Database Fields tab, you can add, delete, and customize your index fields
(For more information on Database Fields, DocuWare Knowledge Center)
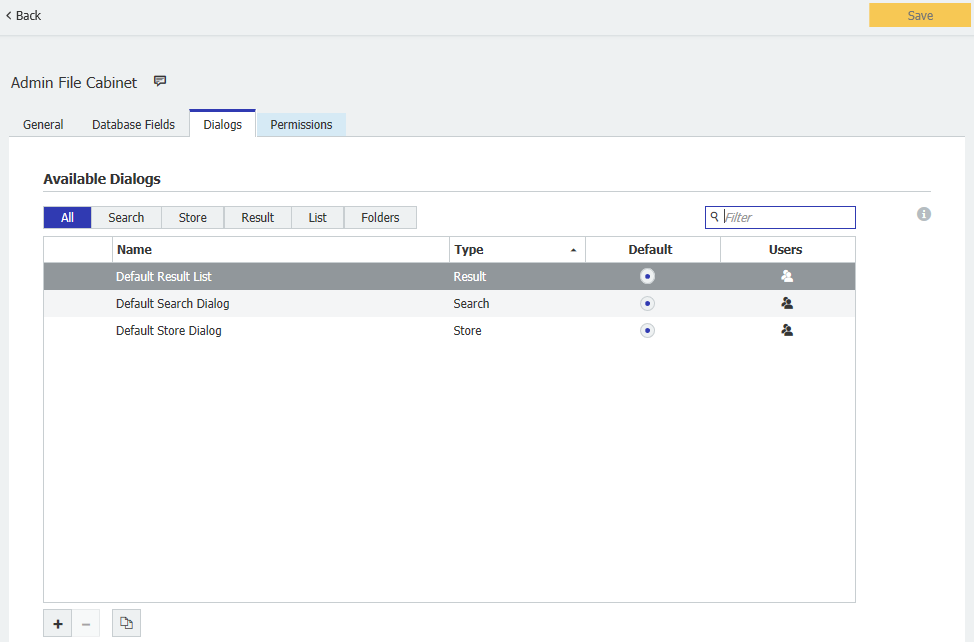
9. Under the Dialogs tab, this is where all users of the file cabinet can be assigned dialogs, which can be used to broaden or limit their rights within the file cabinet.
(For more information on Dialogs, please refer to DocuWare Knowledge Center.)
10. Lastly, you can add more users or assign standard permissions to the user if you have not already done so in the Permissions tab.
11. When done, click “Save" in the top right corner.
KBA is applicable for both Cloud and On-premise Organizations.