

Question :
Comment puis-je configurer les notifications par courrier électronique depuis la version 7 ?
Réponse :
Pour créer une notification par courrier électronique, procédez comme suit :
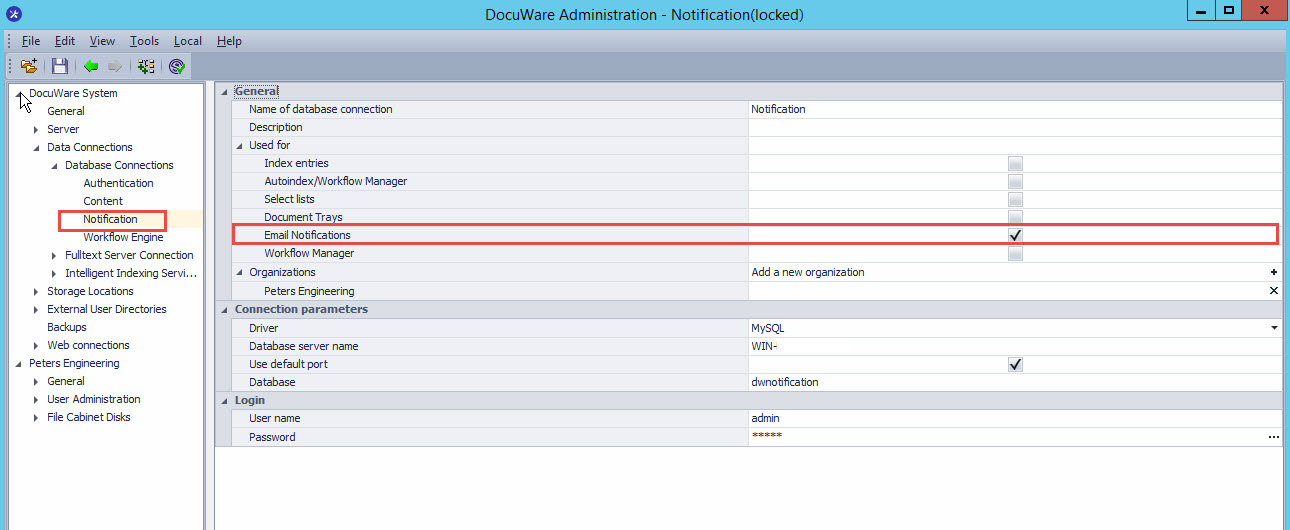
- Assurez-vous que vous disposez d'une connexion à la base de données du serveur de notification et qu'elle est activée pour être utilisée pour les notifications par courrier électronique. (Applicable pour les systèmes sur site)
- Créez une connexion SMTP. Veuillez consulter cet article pour savoir comment procéder : Comment créer une connexion SMTP 7+.
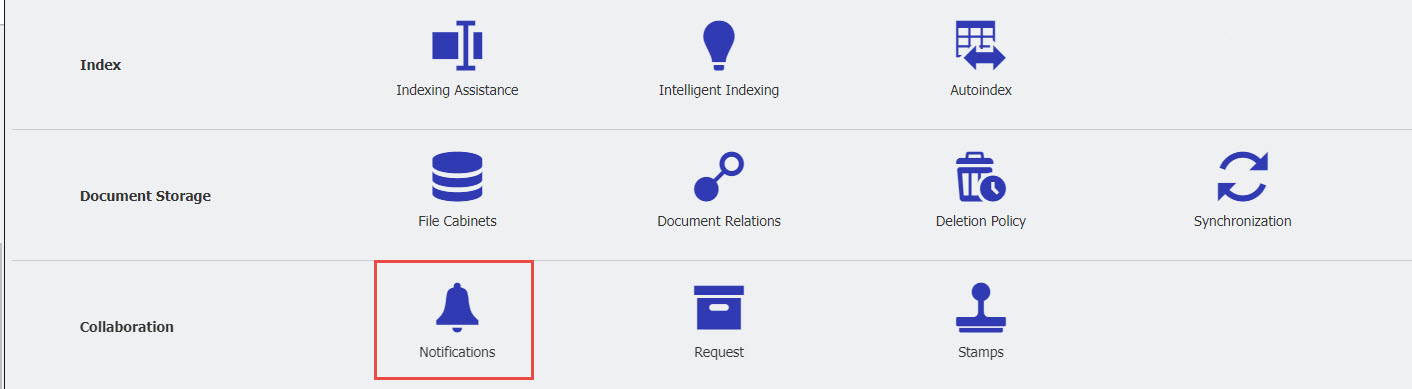
- Allez sur la page Configurations et sélectionnez le plugin Notifications.
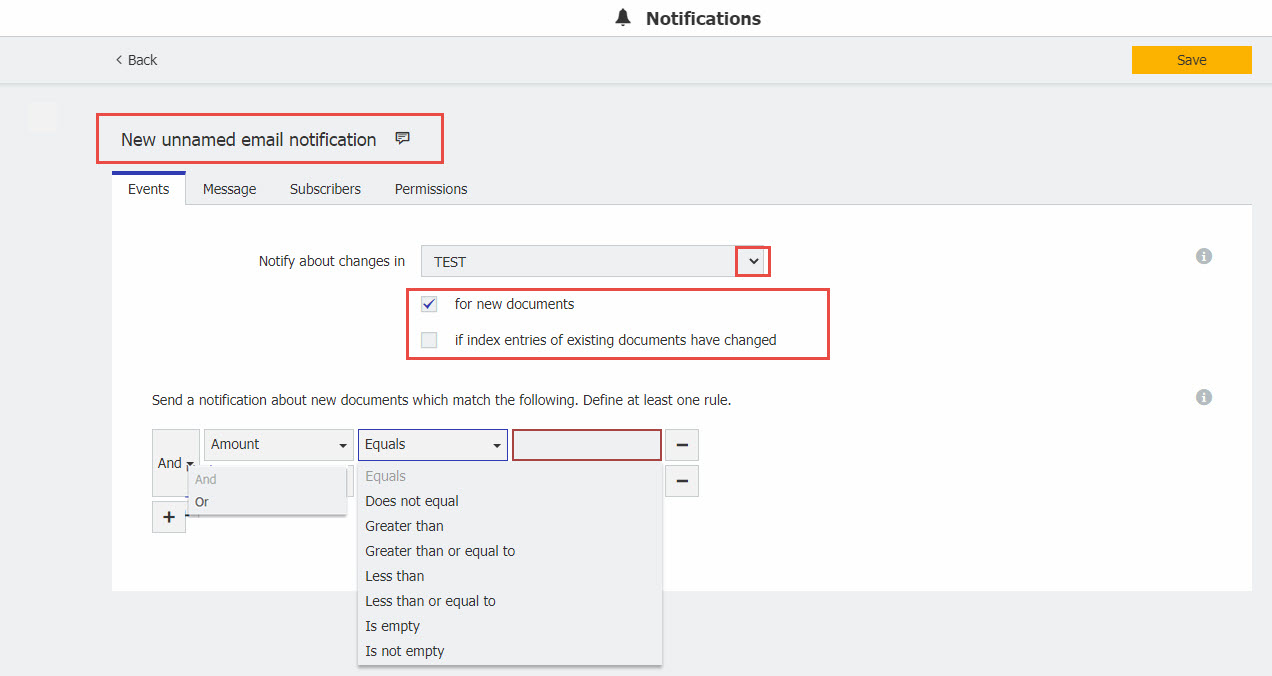
- Dans l'onglet Événements, déterminez l'armoire de fichiers que la notification doit surveiller, ainsi que les documents qui déclencheront la notification en spécifiant les entrées d'index que la configuration doit rechercher.Choisissez d'exécuter le travail sur les "nouveaux documents" ou "si les entrées d'index des documents existants ont changé" pour répondre aux critères de déclenchement.
Note : Vous ne devez pas établir une configuration avec les deux options cochées, car cela créera une boucle continue qui déclenchera inutilement le travail encore et encore.
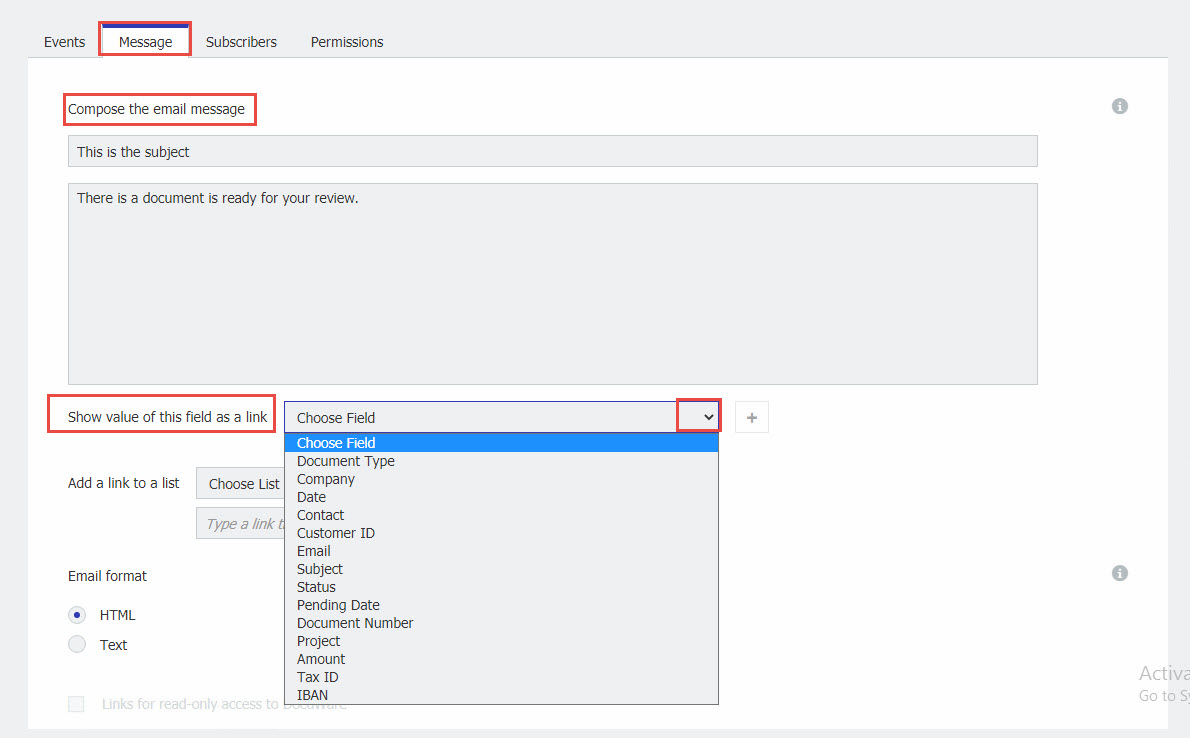
- Sous l'onglet Message, composez l'e-mail que les utilisateurs doivent recevoir. Personnalisez l'objet et le corps du message et indiquez une valeur de champ à utiliser comme lien vers le document.
- Vous pouvez également faire en sorte que l'e-mail renvoie directement à une liste de tâches. Veuillez vous référer à cet article pour plus d'informations sur la configuration des notifications de liste de tâches.
- En bas de l'onglet Événements, vous pouvez déterminer si la notification est envoyée au format HTML ou texte. En format texte, le lien vers le document ou la liste n'est pas cliquable. Il est uniquement inclus en tant que texte à copier dans le navigateur. Vous pouvez également activer l'option "Liens pour l'accès en lecture seule à DocuWare" si les destinataires sont des utilisateurs du Client Web DocuWare en lecture seule. Le lien peut être généré de cette manière.

- L'onglet Abonnés permet de spécifier les utilisateurs qui doivent recevoir cette notification par courrier électronique.Vous pouvez choisir d'ajouter un destinataire par le biais du nom d'utilisateur ou d'un champ d'index et de définir l'envoi de la notification selon un calendrier personnalisé (l'intervalle ne peut être inférieur à 10 minutes).
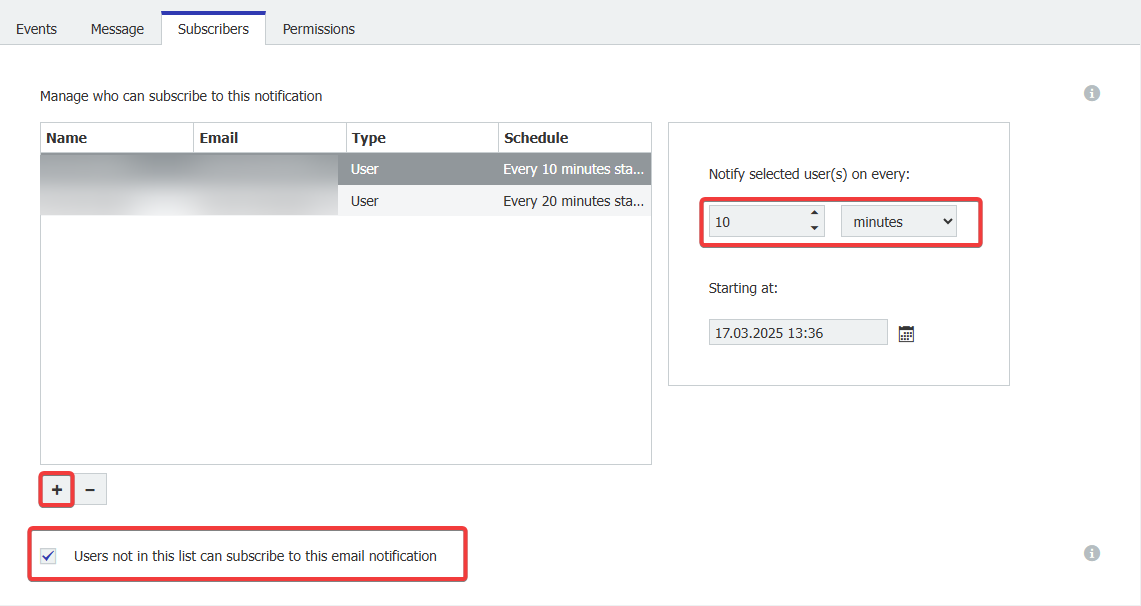
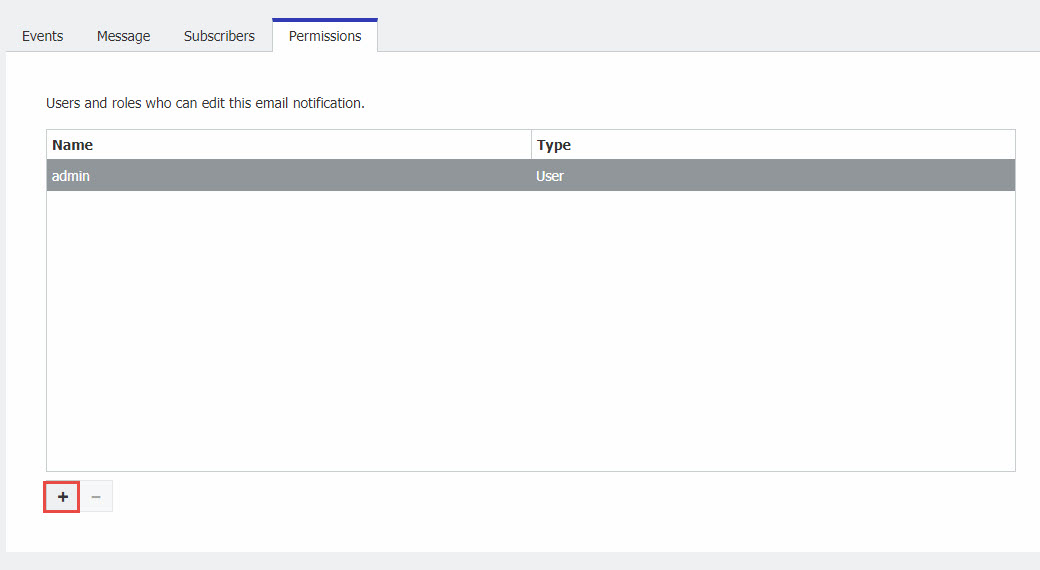
Remarque : Si vous choisissez l'option "Les utilisateurs ne figurant pas dans cette liste peuvent s'abonner à cette notification par courrier électronique", tous les utilisateurs de votre organisation peuvent s'abonner à la notification et définir eux-mêmes le calendrier d'envoi. - L'onglet Permissions vous permet de choisir le ou les utilisateurs qui peuvent modifier cette configuration. Tous les utilisateurs répertoriés ici, directement ou par l'intermédiaire d'un rôle, peuvent modifier les paramètres de notification ou supprimer complètement la notification.
- Enfin, enregistrez la configuration et votre notification sera active.
Le KBA s'applique aussi bien aux organisations en nuage qu'aux organisations sur site.
Veuillez noter : Cet article est une traduction de l'anglais. Les informations contenues dans cet article sont basées sur la ou les versions originales des produits en langue anglaise. Il peut y avoir des erreurs mineures, notamment dans la grammaire utilisée dans la version traduite de nos articles. Bien que nous ne puissions pas garantir l'exactitude complète de la traduction, dans la plupart des cas, vous la trouverez suffisamment informative. En cas de doute, veuillez revenir à la version anglaise de cet article.